Shooting drinks is part and parcel of being a food photographer. Once you’ve mastered the art of food photography, the next logical step is drinks photography. Beverage photography can be a fun rewarding experience but it does come with its challenges. Think melting ice, scratches on glasses, ugly reflections as well as fingerprints on glassware to name a few. Even the most boring of shots can be improved with a little behind-the-scenes magic using drinks photography tips.
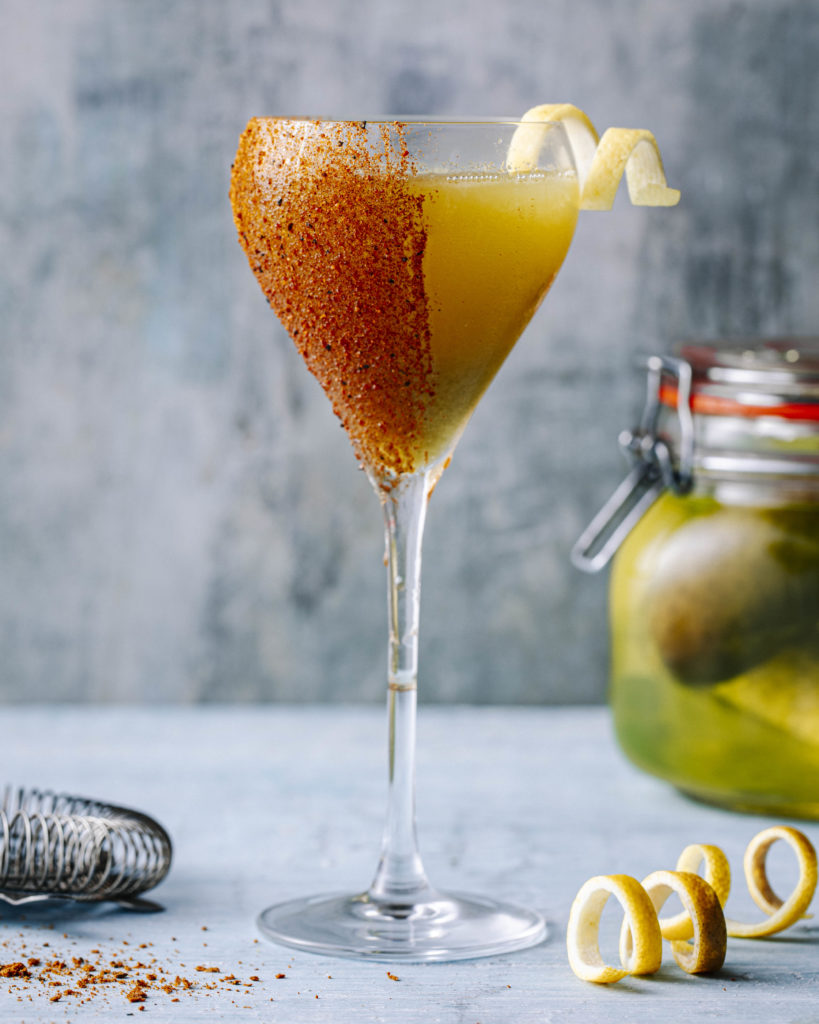
There are no set rules on how you can achieve a perfect shot. But with these tips and tricks on beverage shots, you’ll be sure to find the perfect drink shot that you have been looking for.
Use backlighting
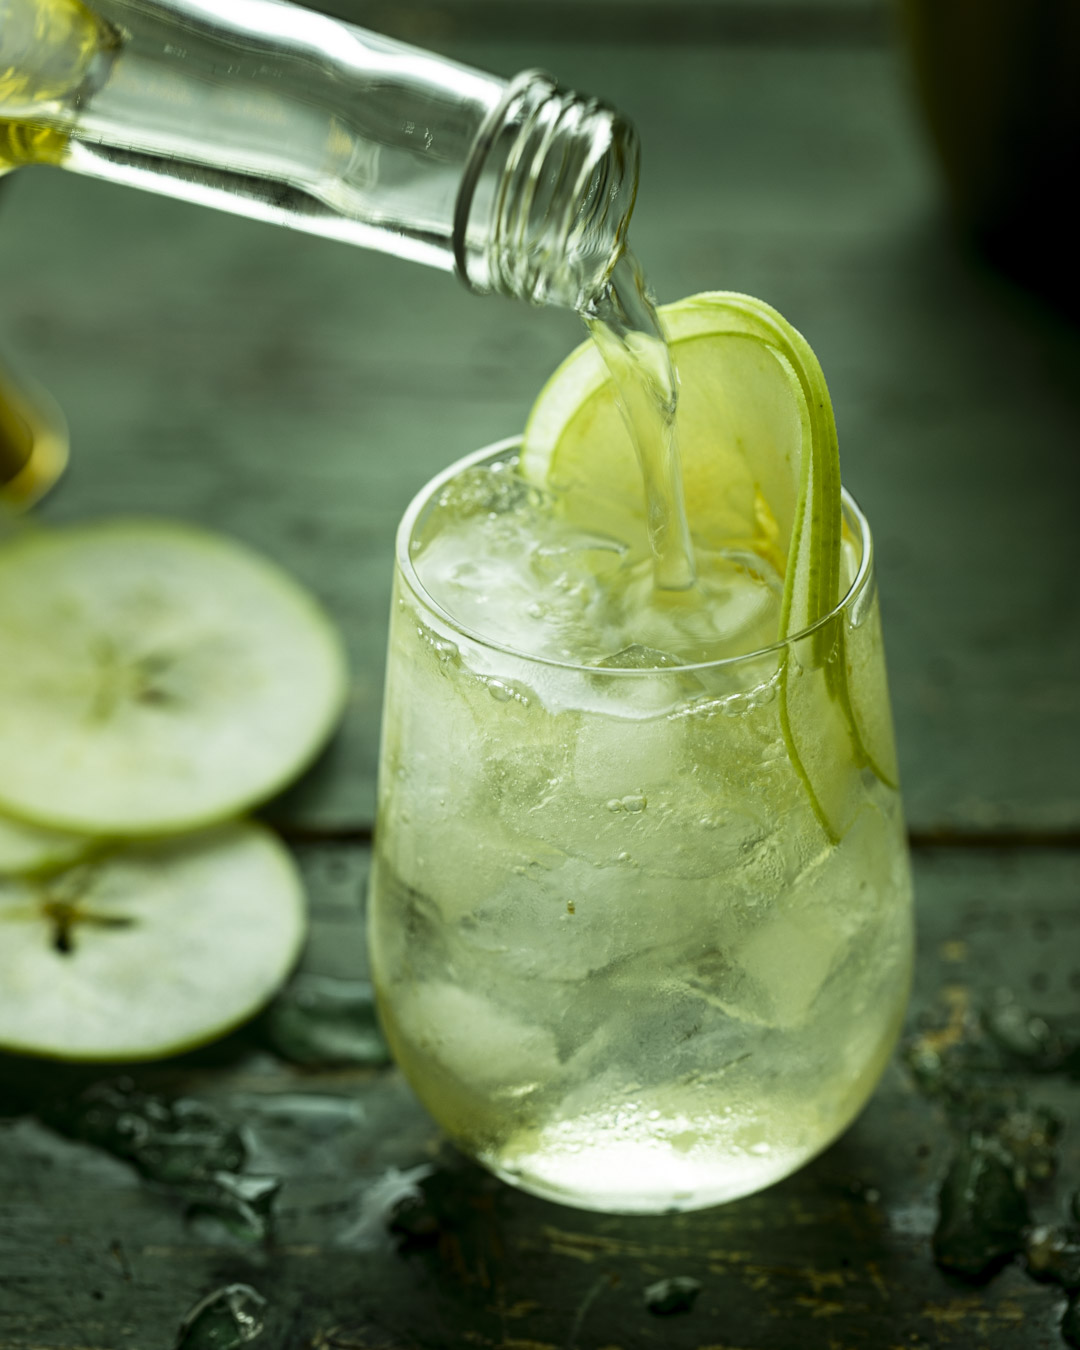
This is one of the best lighting directions for beverage photography. The reason for this is that when you backlight a drink, you’ll bring about an ethereal quality and glow to the beverage due to the way the light moves through the drink. The drink quality will almost look transparent or translucent depending on the texture. Backlighting will also help to get rid of any reflections from a window or artificial light on your glassware.
Thin walled glasses
Not all glasses are created equal. The thinner the glass material, the easier it is for light to pass through it. This will result in less reflections on the glass which can be distracting and hard to manage.
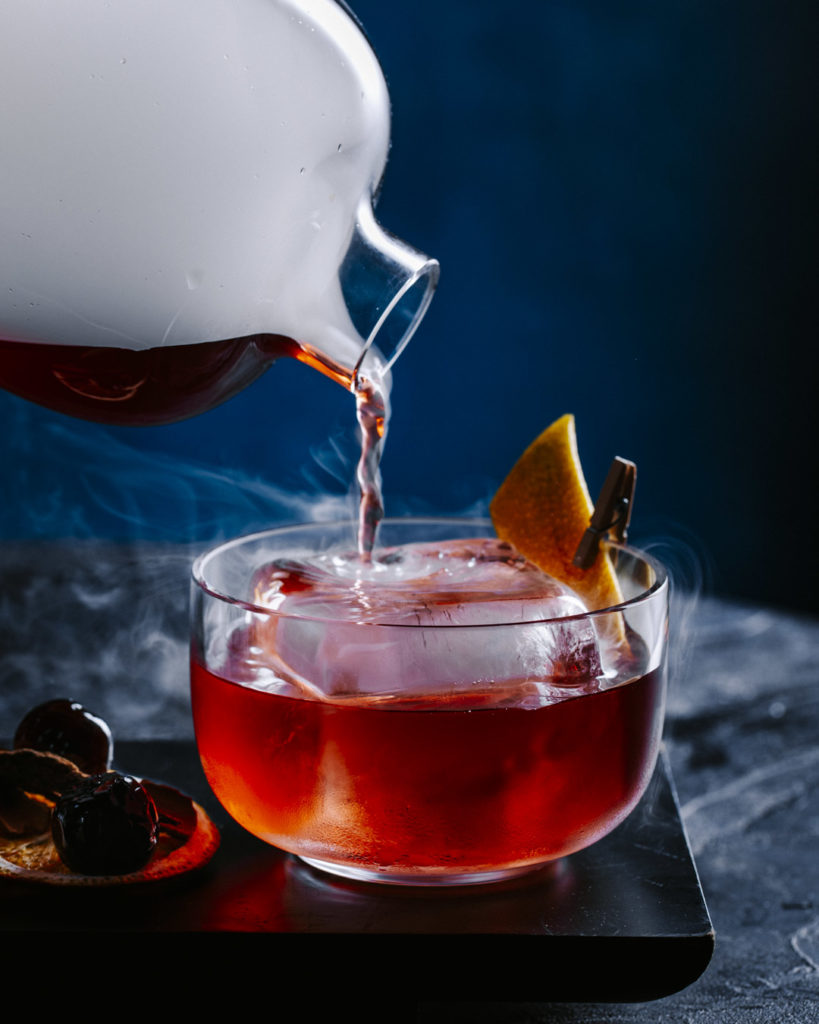
Capture splash
One of the most fun things about beverage photography is to capturing splashes. This adds a dramatic and dynamic quality to your photos, making it much more interesting. You can add splash to your images by using sugar cubes, ice cubes or even heavier drink toppings such as olives. Bear in mind that in order to capture splash, you need to have a fast shutter speed and ideally be on a tripod if you’re using natural light.
Create interesting garnishes
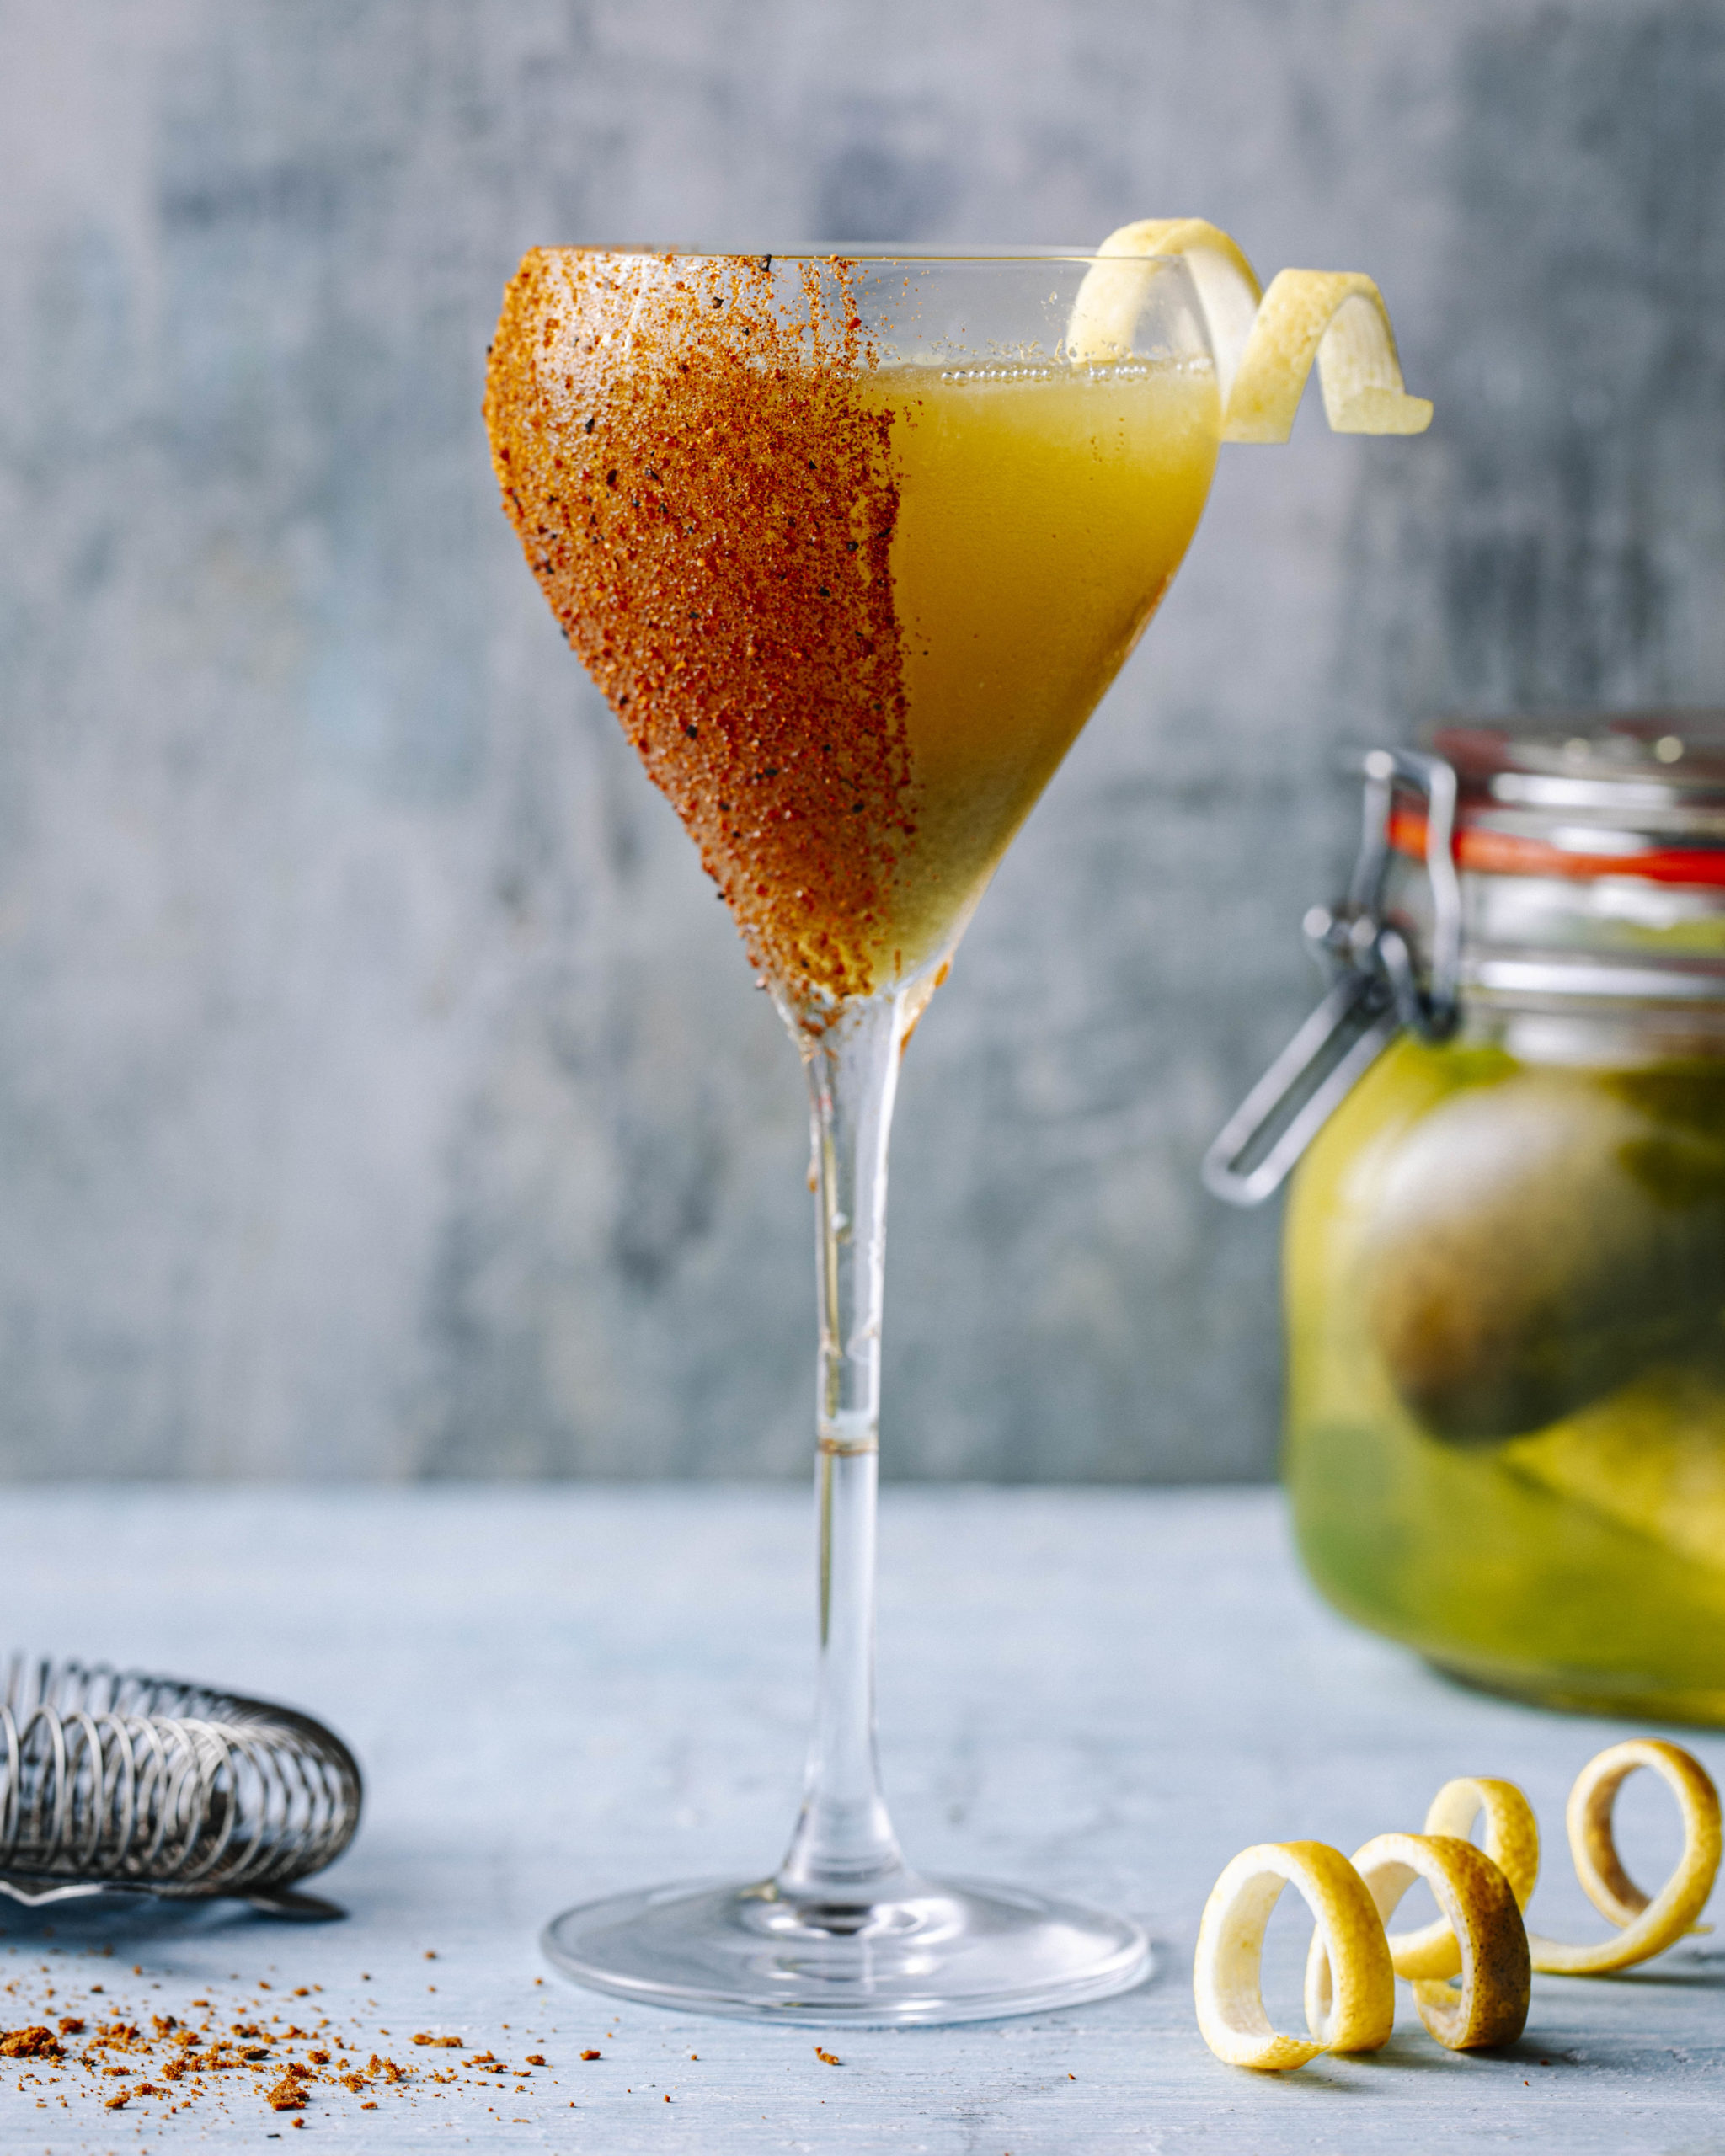
Garnishes are one of the most fun parts about styling and photographing beverages. They help to add interest to the image as well as tell the viewer about the ingredients and what the drink might taste of. This is your chance to get really creative. A few ideas for simple garnishes include:
· Salt or spice rims
· Herbs
· Edible flowers
· Fruit slices
· Dehydrated fruit
· Citrus peels
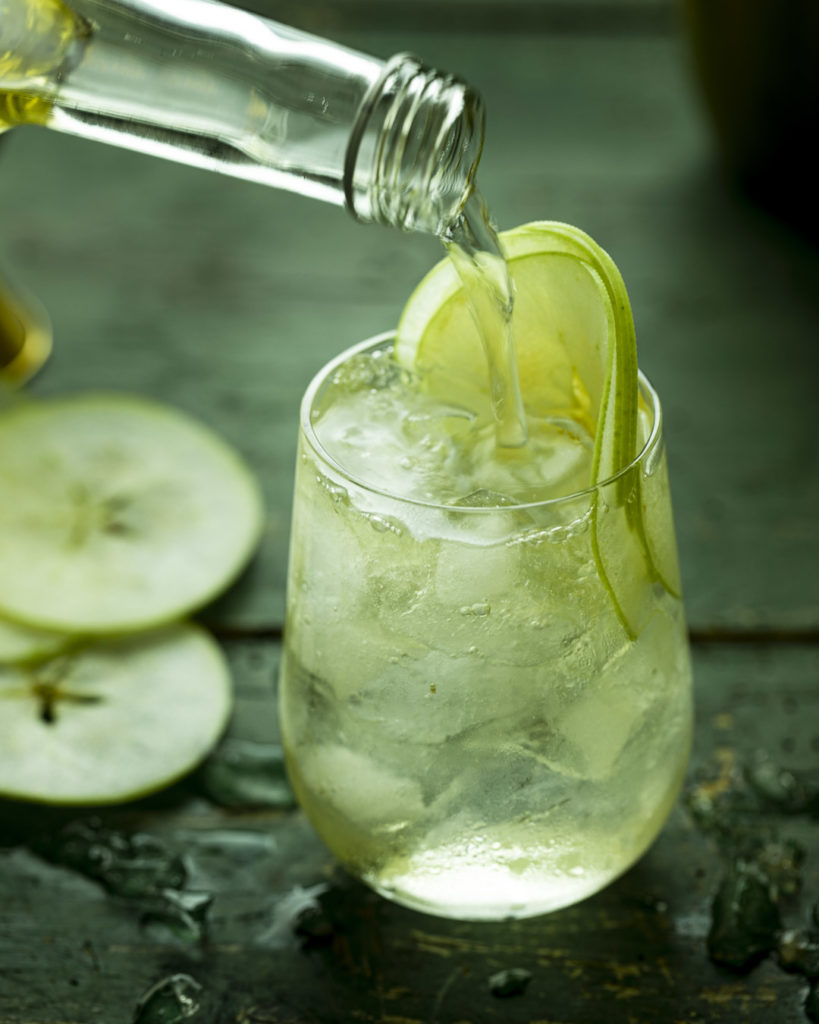
Consider hard light
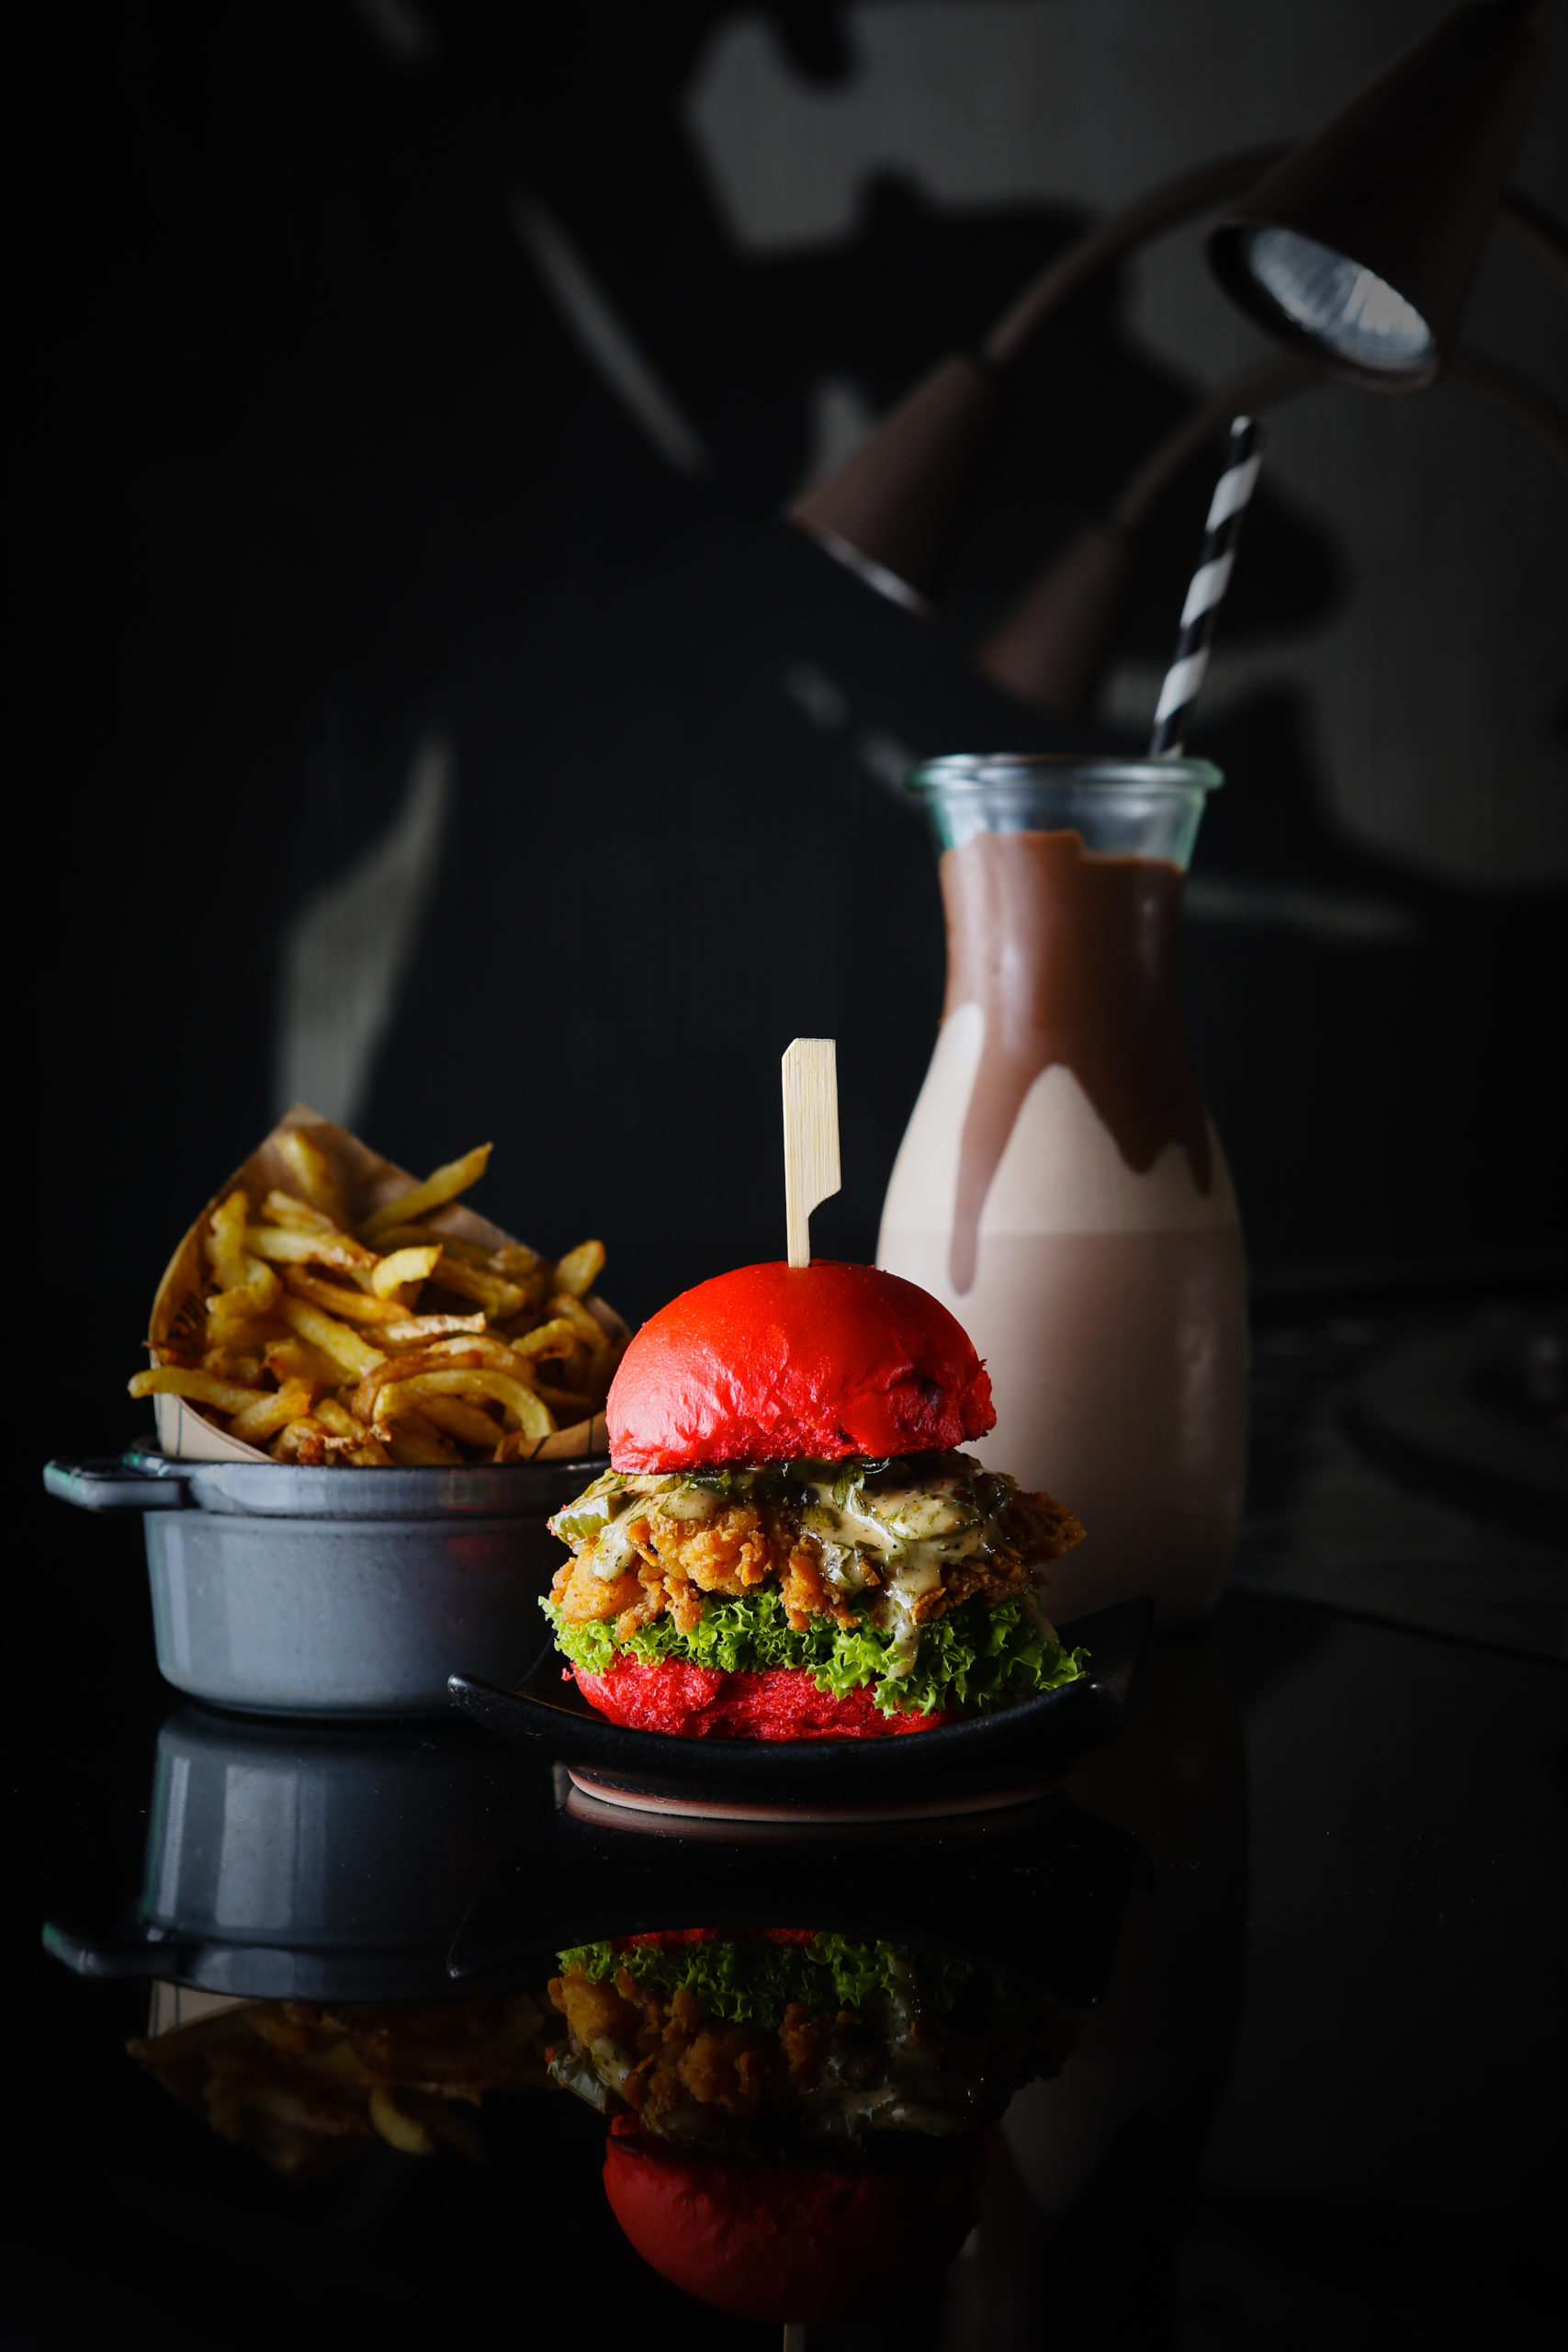
Using hard light can make food look oily with too much contrast and texture. However, it’s a completely different ball game when it comes to beverages. Hard light pairs really well with glassware, creating interesting reflections and shadows. The style of dramatic lighting gives bold and saturated colors which works really well with drinks photography.
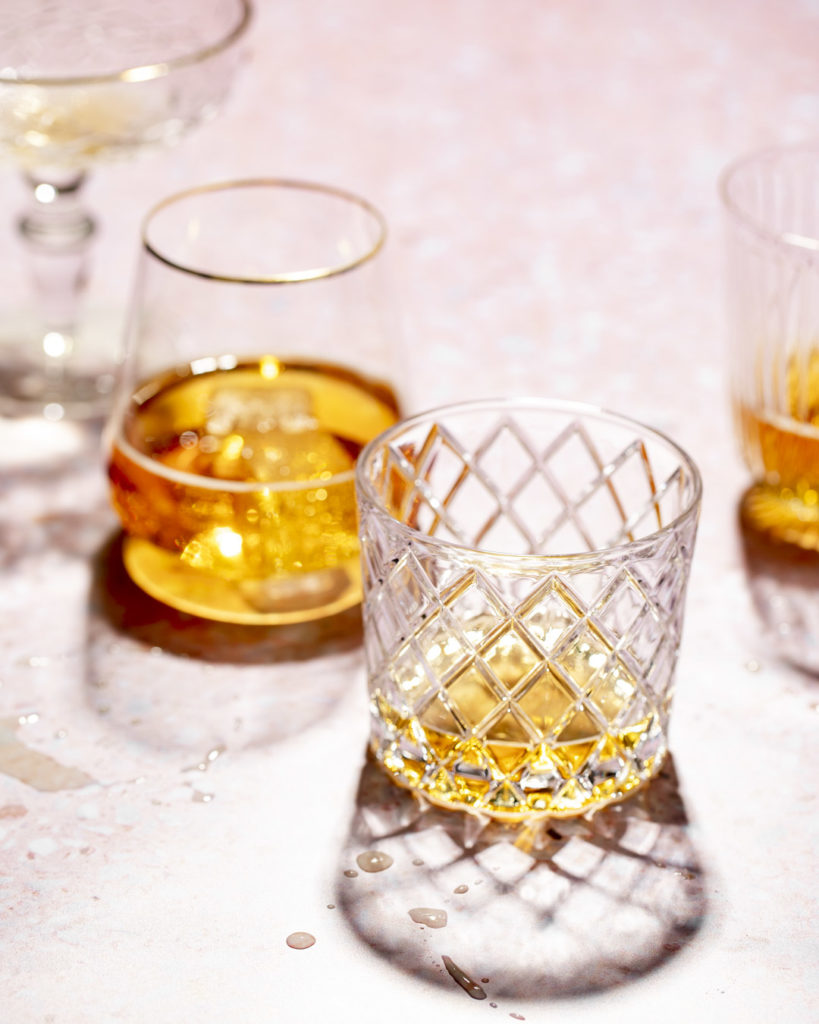
Appropriate props
Think about the type of props you’re using when photographing your drinks. There are plenty of Props used in the making of the drink that can be used to enhance the quality of your photos and make them look fun and interesting. A few include:
· Tumbler
· Cocktail pick
· Stirring spoon
· Strainer
· Cocktail shaker
· Ice tongs
· Ice bucket
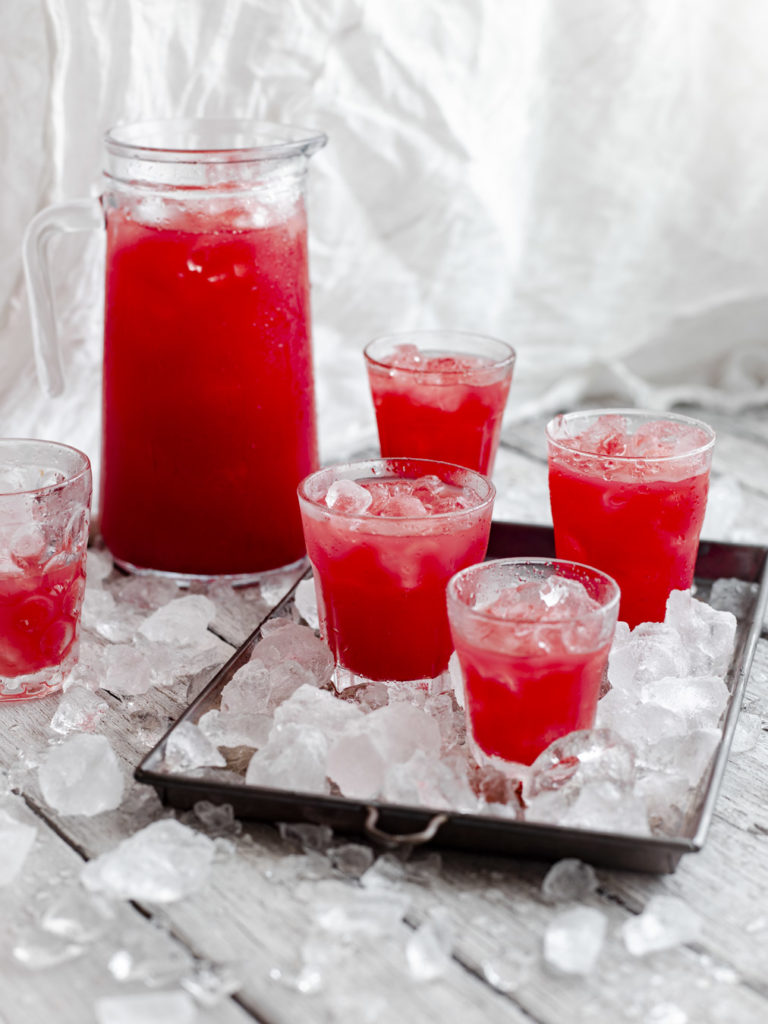
Despite the many obstacles, drinks photography is an important skill to have as a food photographer. Often overshadowed by the food, drinks are the unsung heroes of any photo shoot. Not only do they enhance the composition and provide texture, colour and an overall aesthetic, beverage photography is a vital cog in any restaurant setup. Therefore, it’s so vital to have the skills and know-how for shooting beverages.
Drink photography is one of my favourite type of photography. Reading this article makes me happier Since I use natural light, always try to use backlight. learned lot from the article. Very informative ..