


DSLR cameras have come a long way in the past decade. They used to be basic point and shoot cameras with manual controls but all of that has changed with the release of higher end models. It’s easy to get overwhelmed by all the buttons and choices that are available. One button that is absolutely essential to master on any DSLR is the manual mode button on your camera wheel.
You may have the fanciest camera that costs hundreds of dollars, a large and powerful sensor and expensive lenses. But you will never fully harness the power of your camera if you aren’t shooting in manual mode. This is the one setting that can take an amateur food photographer and turn them into a seasoned pro. By switching to manual mode, you take complete ownership of the creativity, vision and power of your food photography. Here are a few advantages of shooting in manual mode.
Creative control over lighting
When you shoot an auto mode, your camera makes the decisions on what aperture to use, the shutter speed and the ISO. This based on software calculations on the amount of light that’s available in your environment. Since it’s the camera making the decisions, you have no control over how bright or dark the final image will be. If you want to underexpose and create a darker moody light, your camera won’t know this and will base its decisions on the amount of light that’s available. This is why it’s so important for you to shoot in manual mode. It’s YOU who makes decisions and what type of light and light manipulation you want for every individual image. Not the camera. Therefore, it’s YOU that needs to make the decisions when it comes to the exposure, not the camera.
It’s also important to note that when you graduate to using artificial lighting for food photography, you need to have a thorough understanding of the exposure triangle and shooting manually.
Creative control over movement
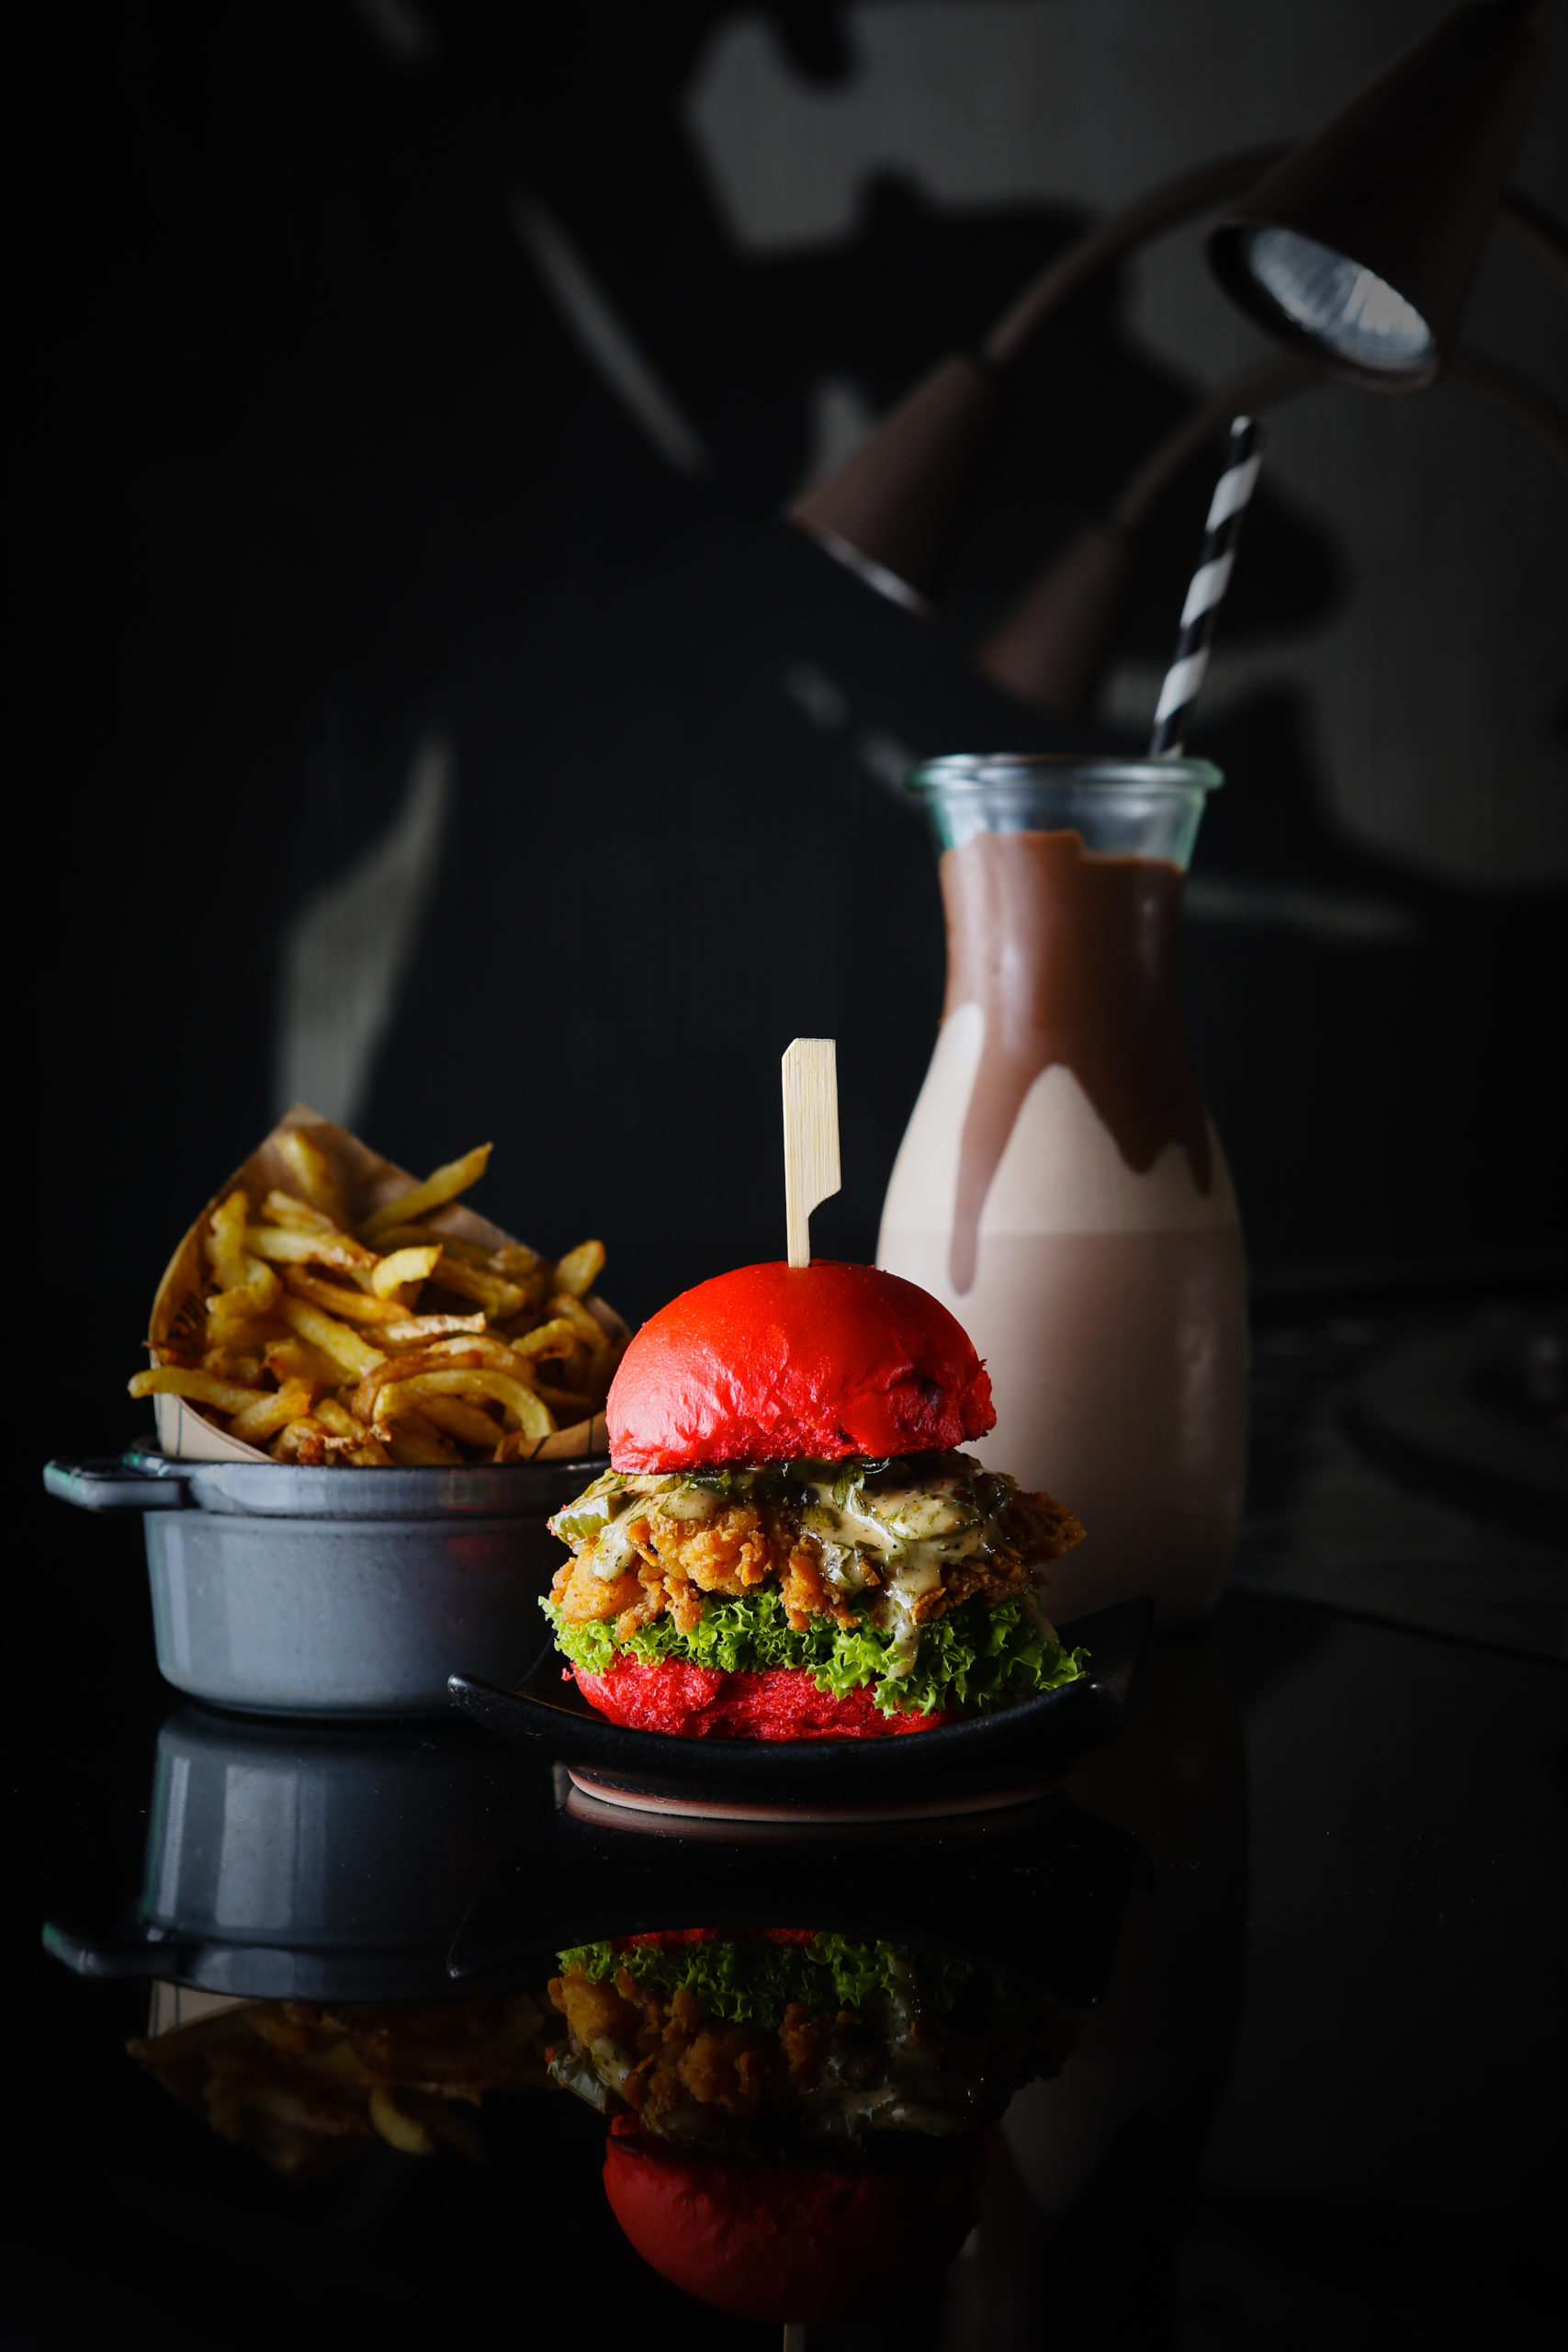
Did you know that it’s your shutter speed that actually controls the movement in your images? If you want to show blurred out hand movement or want a tack sharp image, then you need to know how shutter speed works. If you’ve ever wanted to capture a splash shot or a drizzle of icing, shooting in manual mode is the only way to go.
Creative control of bokeh
Bokeh is the mount of blurring in the background of your food photos. It’s the aperture within the exposure triangle that controls how blurred your background is. When you shoot an auto mode, the camera makes the decision on what aperture to use. Thus, it’s also controlling how blurred out the background is. This may not coincide with the creative vision that you have in your head. This is why it’s so important to master the three elements that control exposure- aperture, shutter speed and ISO.
Now that you know why it’s so essential to be shooting in manual mode, let’s go over some terms that you need to understand in order to make the transition from auto mode to manual mode easier.
Exposure Triangle
The triangular relationship between aperture, shutter speed and ISO is known as the exposure triangle. The settings you have for each of these elements will determine the exposure (how bright or dark your image is or how much light reaches the camera’s sensor).
Aperture
Aperture is the hole inside the lens of your camera through which light moves to reach the camera sensor. This controls two variables- the amount of light that reaches the sensor as well as the depth of field (also known as bokeh or how blurred the background is).
You can control the amount of light entering the lens and hitting the sensor by changing the size of the hole. A large hole will give more light and a small hole will give less light. Thus, a large aperture allows more light to enter your camera and also gives you a shallower depth of field (more blur in your background).
On the other hand, a small aperture allows less light to enter the lens, giving you a darker image. You also have less bokeh.
Shutter speed
Shutter speed refers to the length of time that the camera’s shutters are open, allowing light to enter the camera and hit the sensor. The faster the shutter speed, less light enters the camera and you end up with a darker image. A slower shutter speed lets more light into the camera, giving you a brighter exposure.
ISO
This is how sensitive the camera sensor is to light. The higher the ISO, the more sensitive the camera will be and you end up with a brighter image. This setting also impacts the amount of noise or grain in the image. As you increase the ISO, you end up with more graininess in the image.
All three elements work together to control the exposure of your image. This is why it’s known as the exposure triangle. Changing the setting for one element affects the other two and this is why you need to know how all three work together in a relationship.
When you first purchase a DSLR or even some months or years into your food photography journey, the easy way out is to use a camera in auto mode. But the smart thing to do is to turn the dial to manual and never look back. It may seem daunting at first but shooting in manual mode is the only way to improve and master food photography. This is how to have the most control and creative freedom when it comes to your food images.


Awesome blog post . Its now all very clear and should start practising.
Amazing. Glad you found it helpful.