Setting a custome white balance can help you achive the perfect whites. Creating true to life colors is an important skill in food photography. When you nail white balance straight out of the camera, the colors of your food look more natural and lifelike, making the food more appetizing. It also allows you to maintain consistency in your food photographs as well as cut down on editing times. Today PHOOD takes you through the exact steps to set up a custom white balance in-camera.
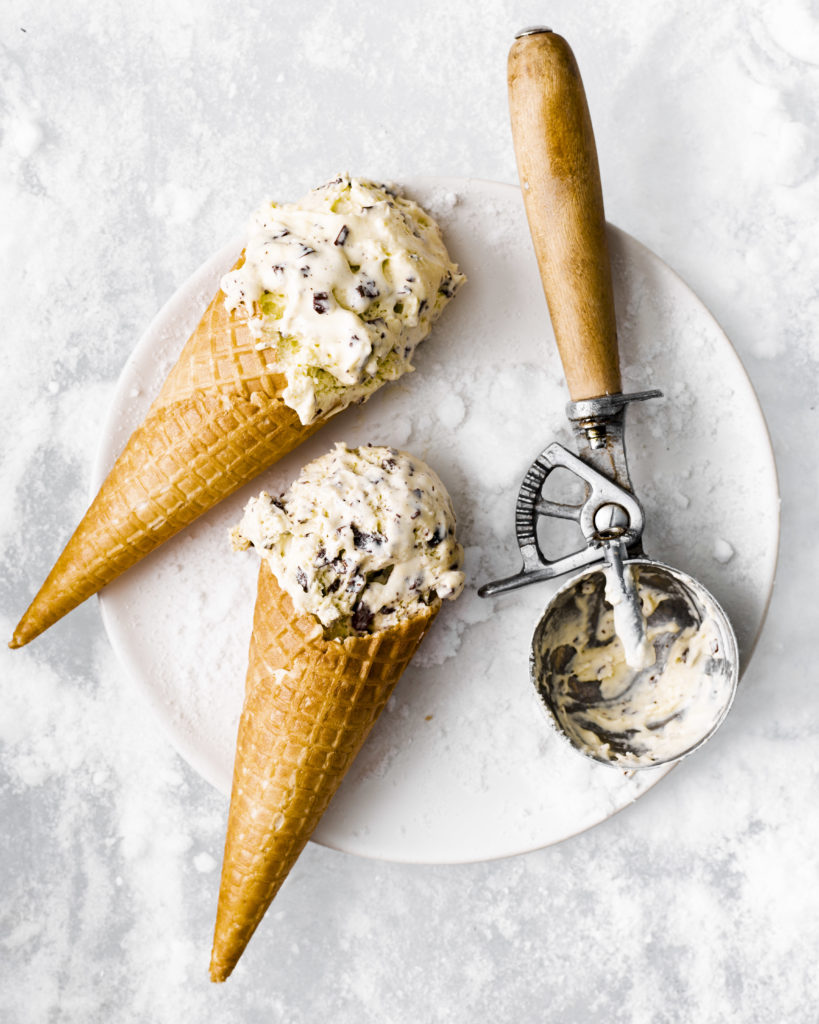
Before we delve into that, let’s look at why setting a custom white balance is important. Why not just use the auto white balance setting on your camera instead?
When the camera is set to auto white balance, it measures the temperature of light reflected from different points on your set and estimates an average value based on this. The problem arises when your set consists of food that is yellow or brown. The light reflected from that may confuse the camera into believing the light is actually too warm when in fact, it’s the food that is colored. the same happen when your set has a background that is blue and props that are cooler in tone. The auto white balance will skew to the cooler side.
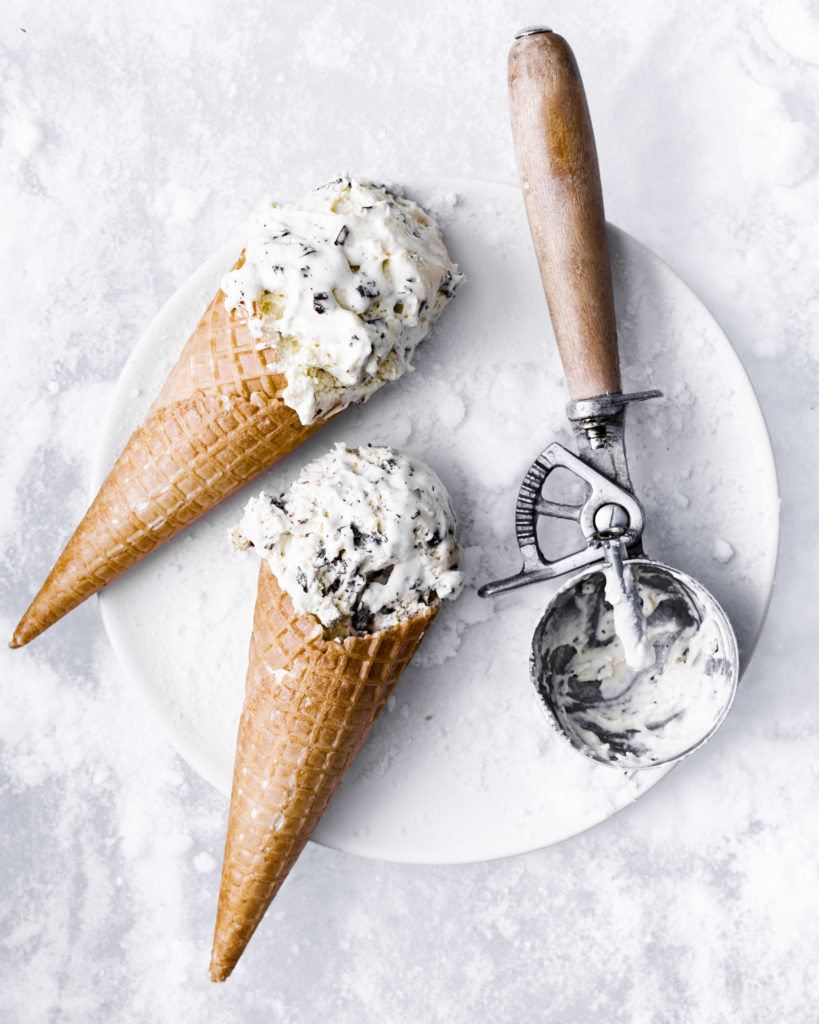
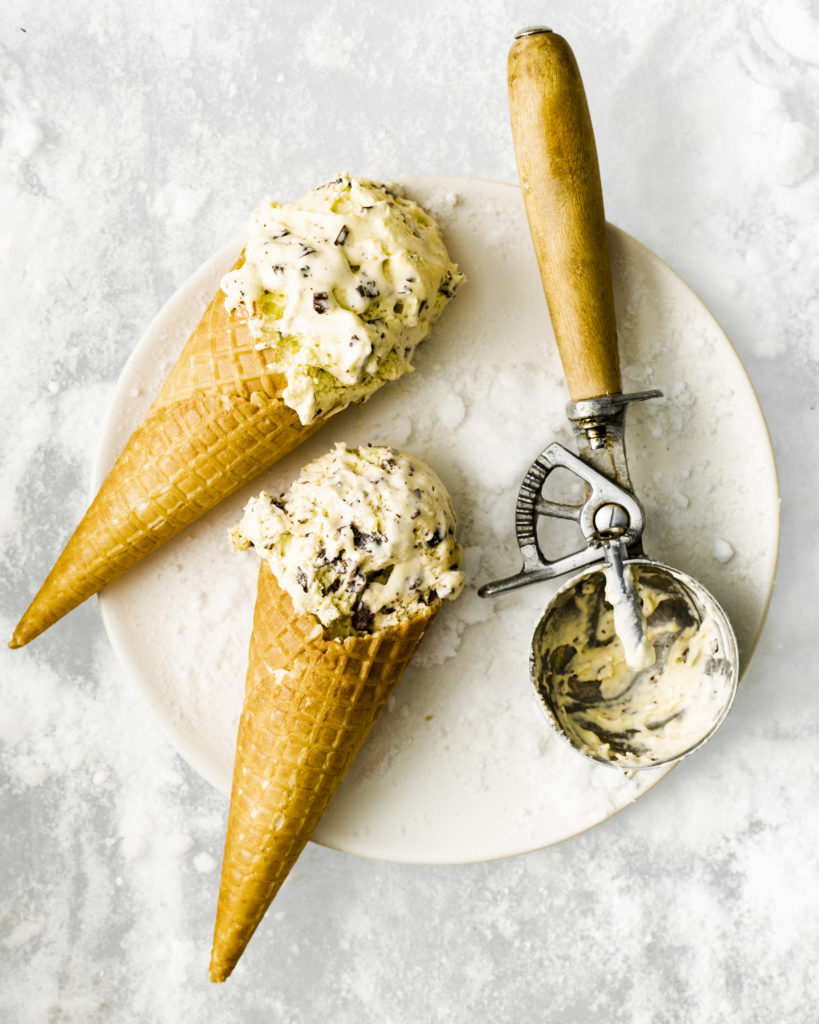
Step by step guide to achieve custom white balance
Here is PHOOD’s step by step method that takes less than a minute to set up, and will give you a more accurate white balance value.
- Set up your scene.
- Place a white balance card or large piece of white paper in your scene. Ensure the light source is hitting your white balance card in the same way it will hit your subject.
- Take a photo the white balance card with the card filling the frame. Your light meter should be set to 0.
- Go into your camera’s menu and select custom white balance. This measures a custom white balance.
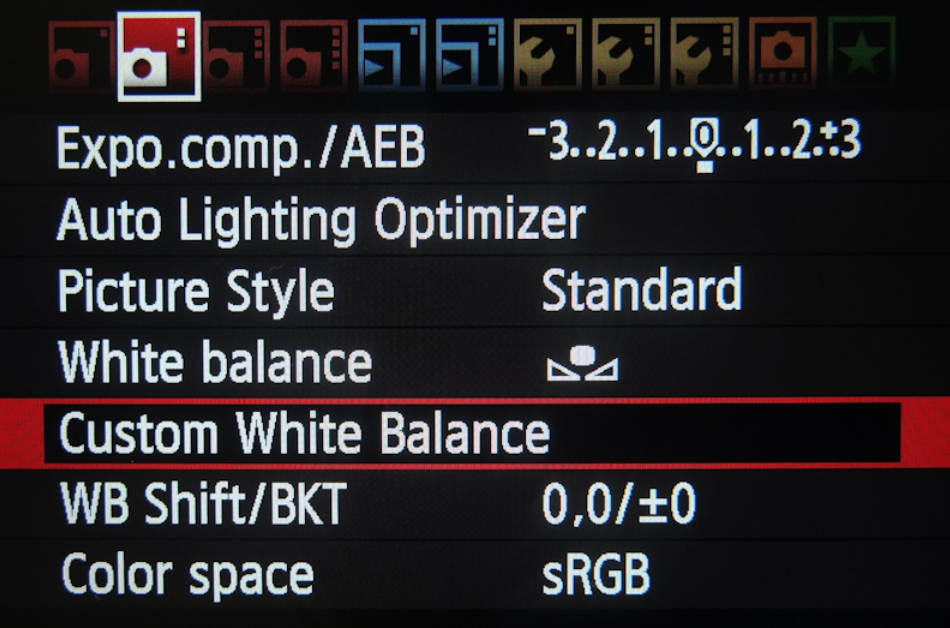
- Choose the photo you just took as the reference point for your camera to use. You will be prompted to use the last photo you took.
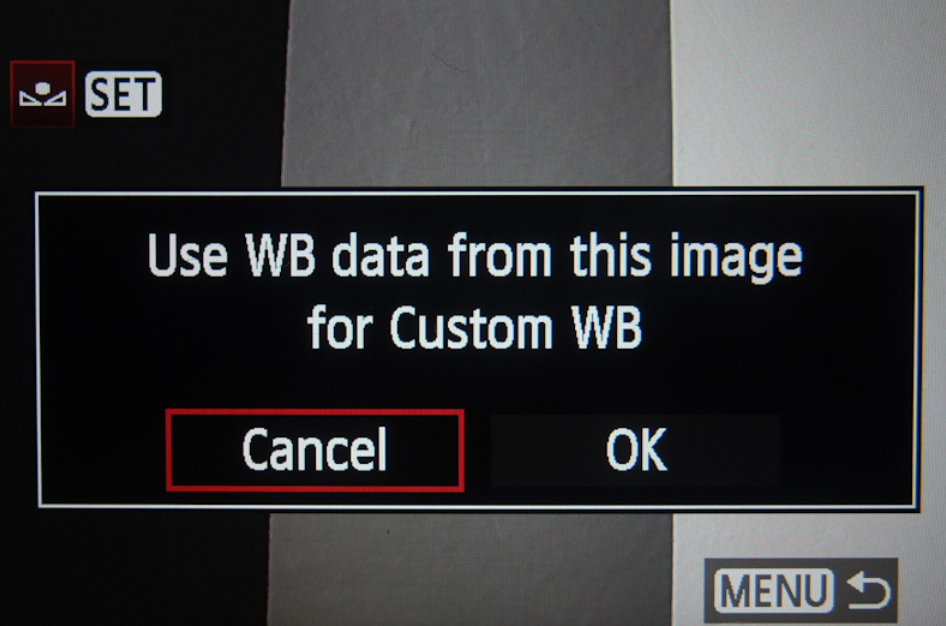
- Now you need to SET the white balance to custom using the white balance menu (normally set to auto).
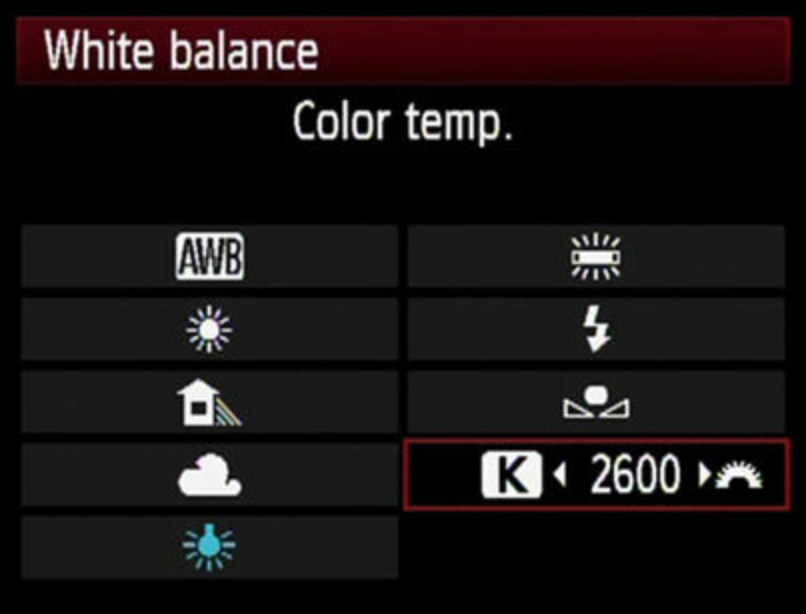
- Done. Your camera is now going to use the information from this white shot to set the correct white balance based on the light you are shooting in.
Every time you change the position of the subject, or the angle/direction of the light, repeat the steps above to maintain the correct white balance. PHOOD also recommends repeating this every time you notice a change in your lighting. You can find a video guide on how to do this inside PHOOD’s signature food photography course.
I really enjoyed this article! Though I’ve been using manual mode for a while on my camera I haven’t ventured that far into custom white balances so this was super helpful in terms of ensuring a natural cast of light moving forward. Two thumbs up! 🙂
Ah so glad you found it helpful. Correcting white balance can be tricky so you want to get it as close to reality as possible in camera.