Lightroom is a powerful tool for any food photographer and learning post production techniques is what takes a good straight out of camera image GREAT. The local adjustments tools you use during editing have a massive impact on your final image. And it will inevitably make or break your shot. Today’s post takes you through three local adjustment tools every food photographer should know about (and be using) in Lightroom.
Graduated Filter
This local adjustment tool allows you to apply an effect on a gradient. The effect from the graduated filters is strongest at the edge where you start the filter and then gradually wears off. This gives your images a subtle change that still has impact. You can also control how sharp the gradient is.
Graduated filters can be used for the following reasons:
- Darkening your image where the light enters to even out any highlights or exposure.
You’ll often find that where light enters your scene, that area looks brighter. It is also more overexposed than the opposite side. This can easily be corrected with a graduated filter to even out the exposure in your image.

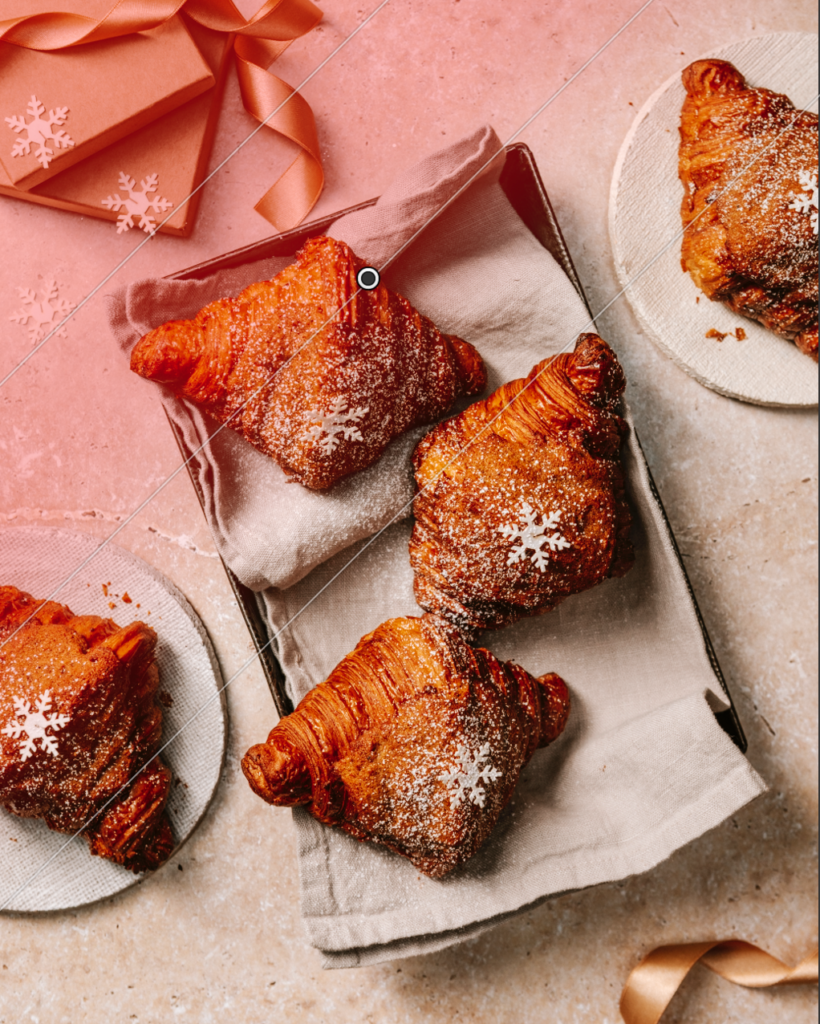

2. Brightening your background to even out light fall off
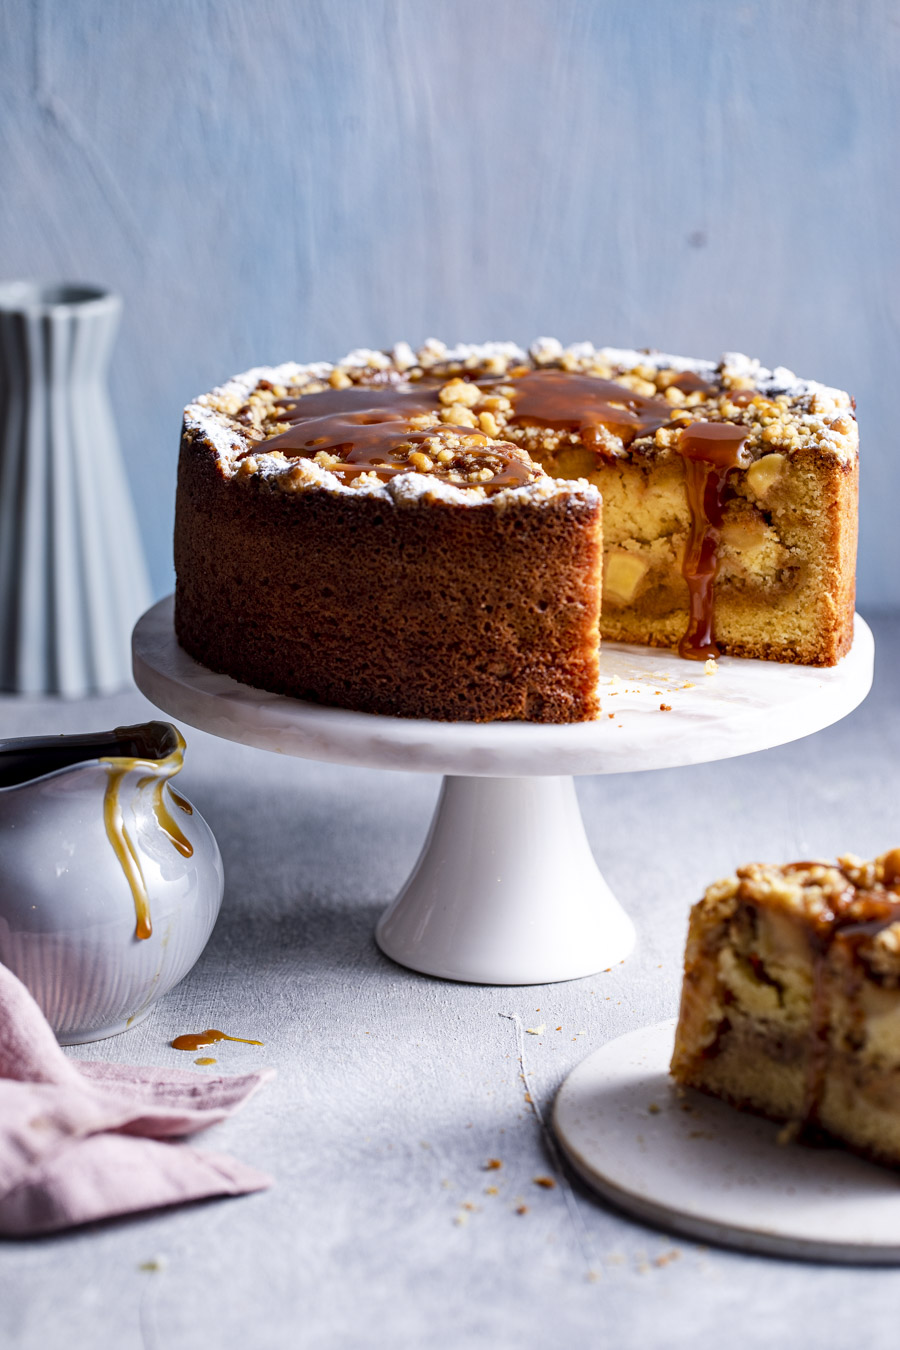
As light enters your image, its intensity gradually reduces as the distance from the light sources increases. This is known as the Inverse Square Law. It just means that your image can look slightly dark on one side (opposite to where the light entered. Again, using a graduated filter will correct this in post production so you end up with an evenly exposed image.
Radial Filter Local Adjustment Tool
The radial filter is a local adjustment tool that applies an elliptical mask to a certain part of your image. The great thing about radial filters is that you can apply the adjustment within the mask area or invert it, to apply it outside the elliptical area.
Radial filters are great for the following reasons:
- Apply a vignette to your photos
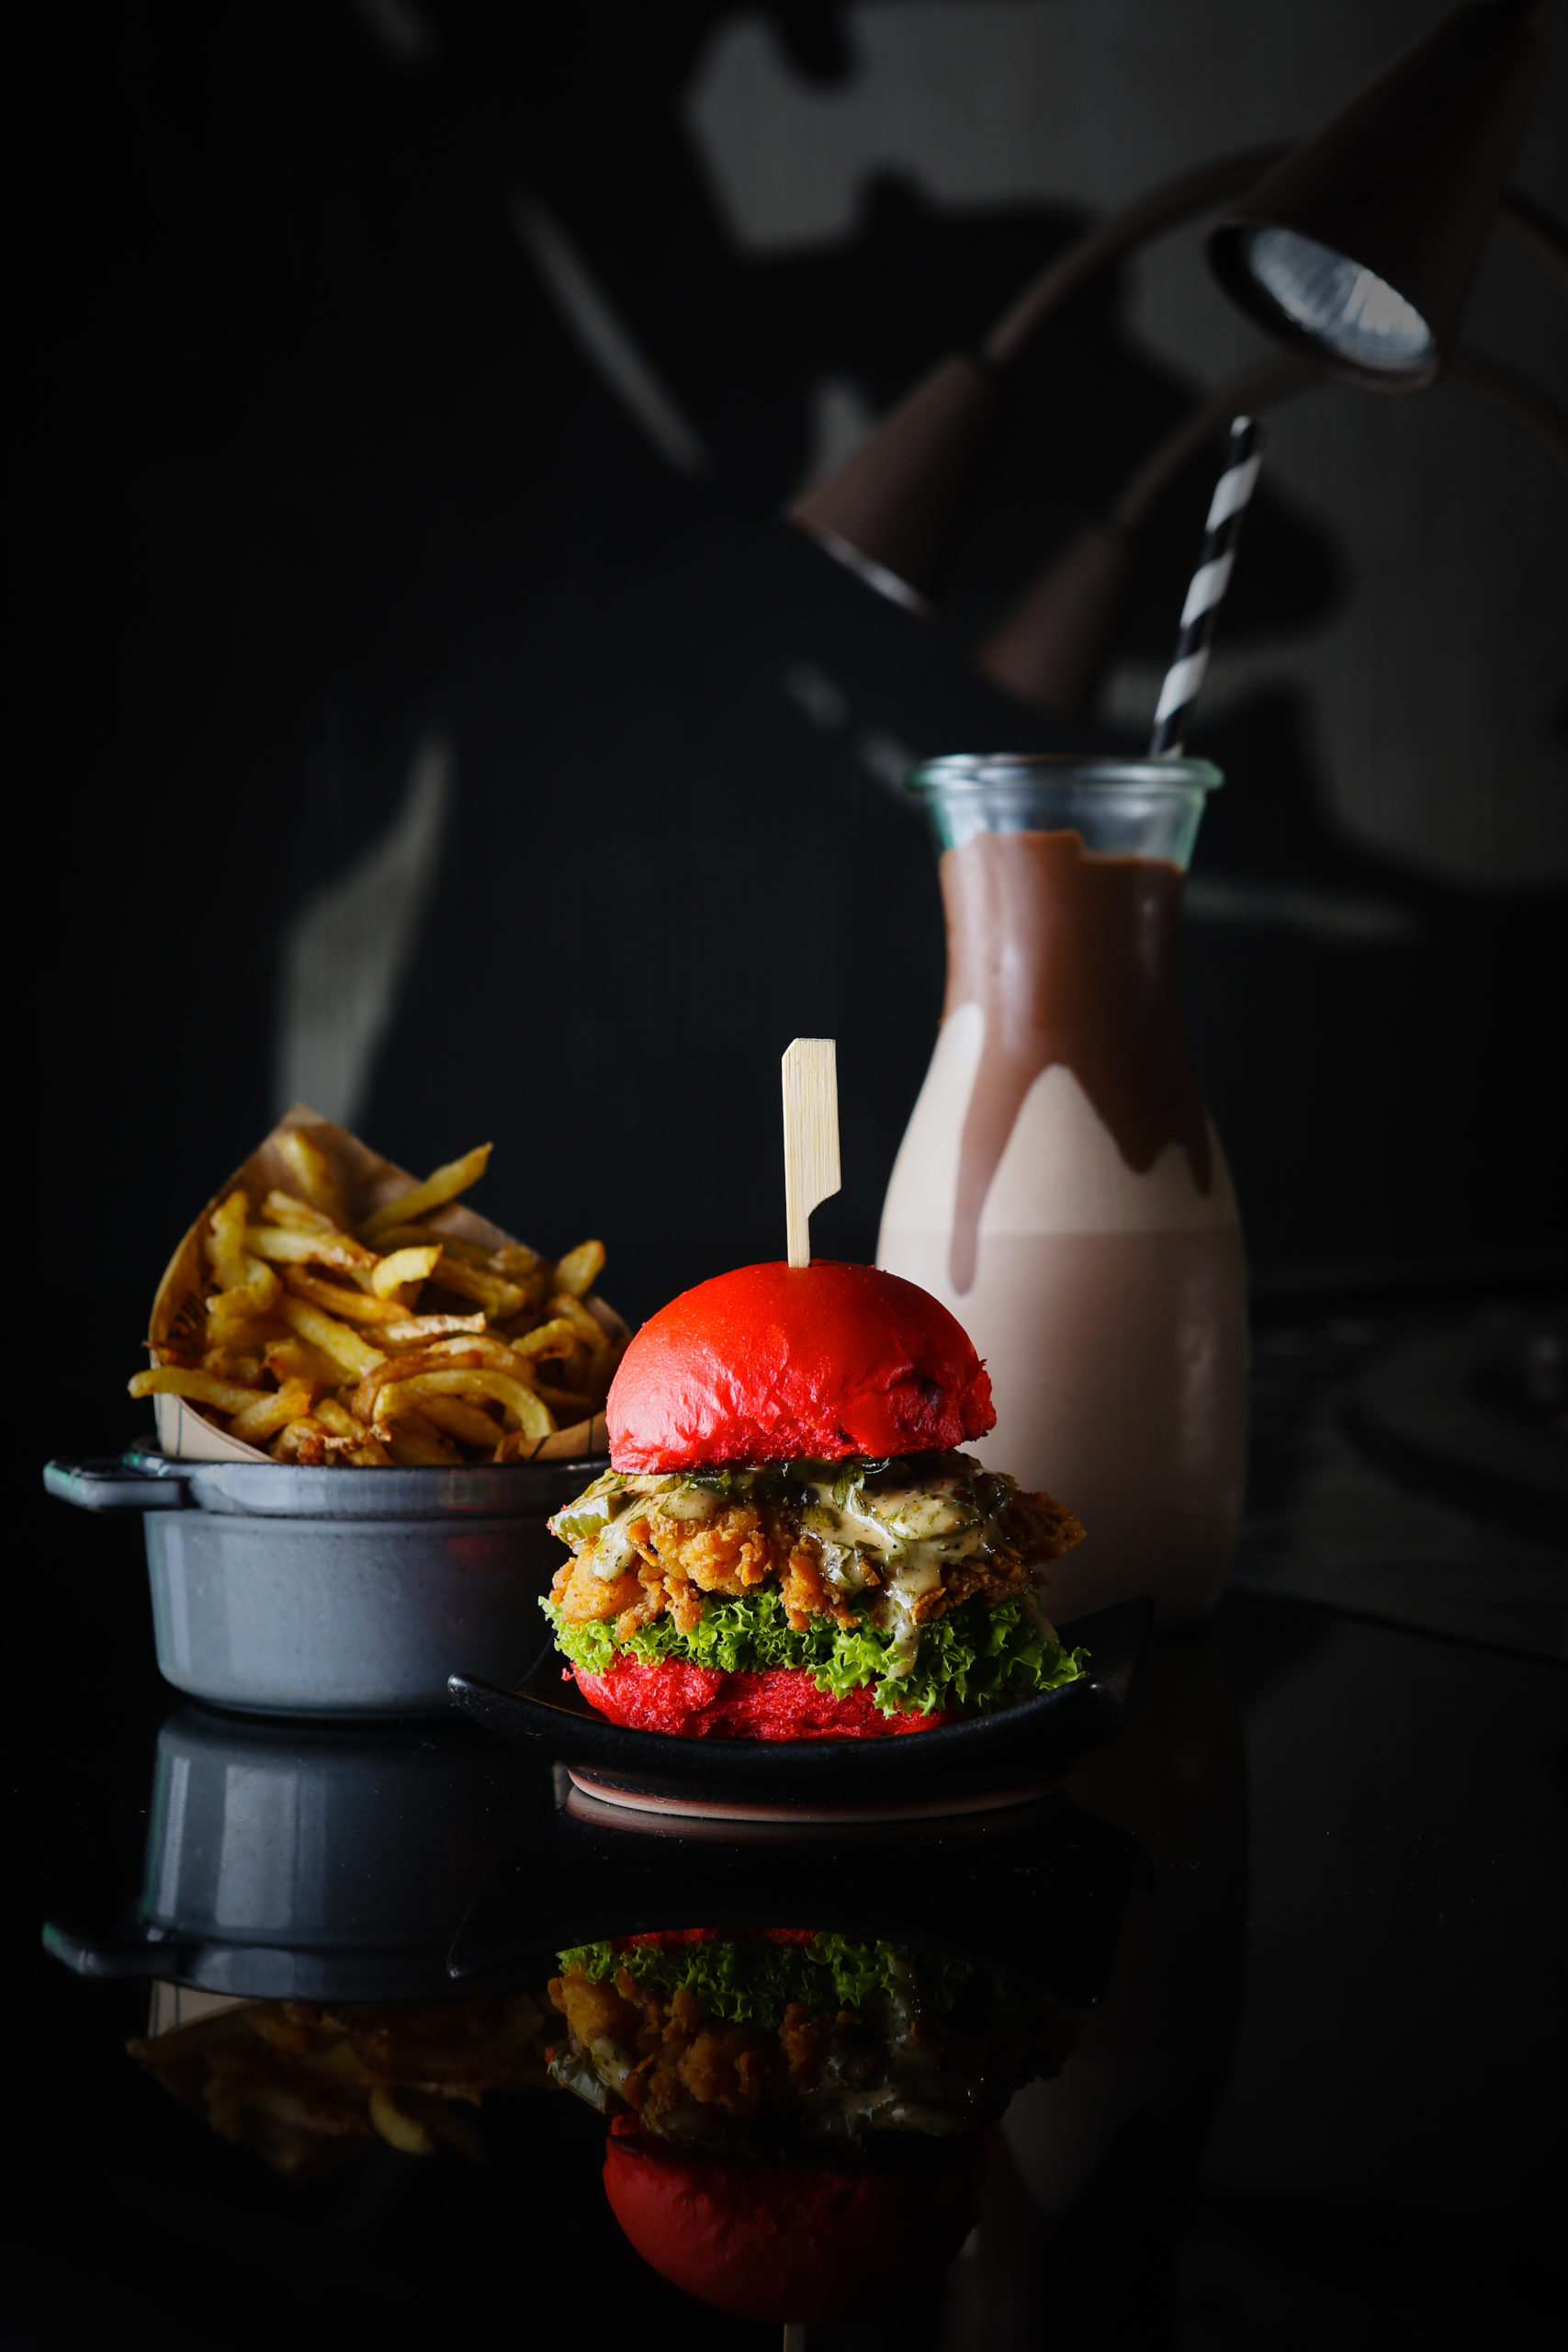
Whilst you can use the vignette slider to create a vignette, apply a vignette using the radial tool gives you so much more control. This control includes the feathering, amount of vignette, area of vignette as well as the angle. Adding a vignette on dark moody images works a treat to cerate depth and dimension in your photos.
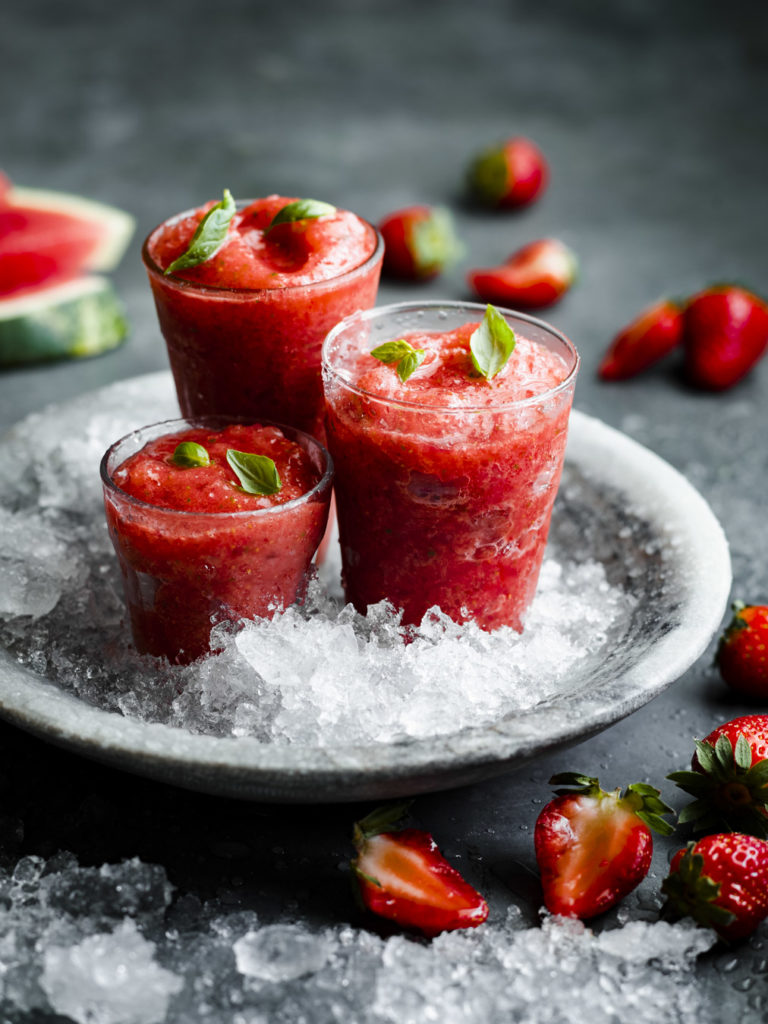
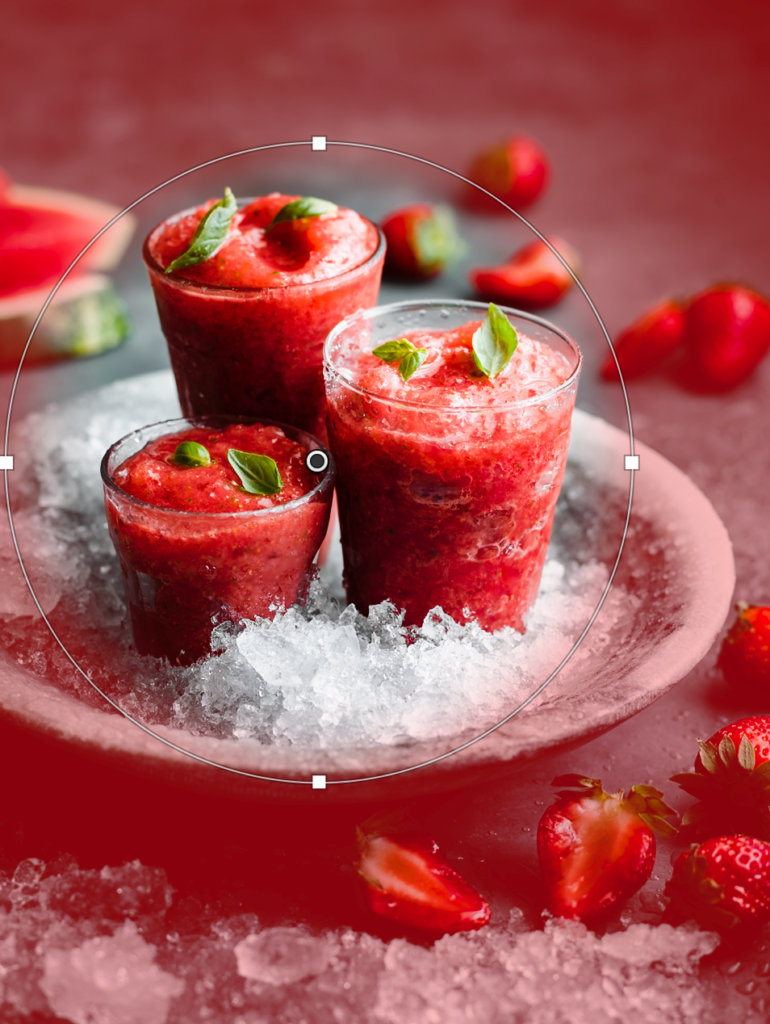
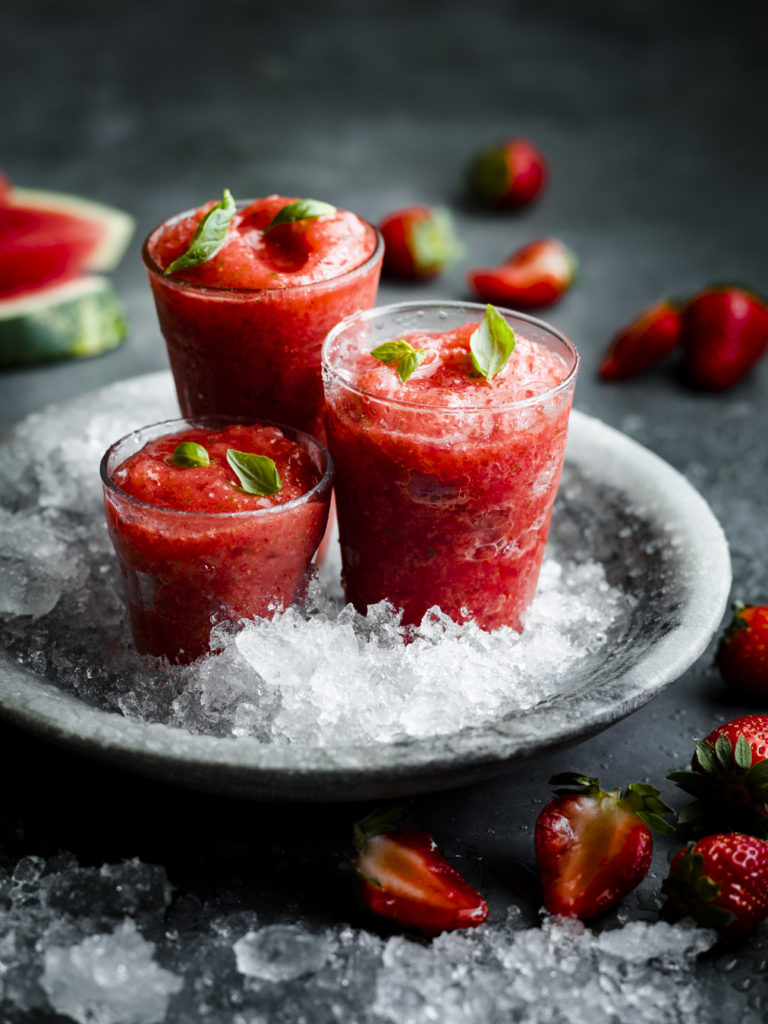
2. Bring attention to a certain part of your image
Using the radial as one of the local adjustment tools to highlight the hero is a great way to make it stand out and demand attention. You can use this to brighten the hero, increase saturation in that area as well as increase clarity. All these will help your hero subject stand out. It also works great for other areas of your images that may be hidden in shadows.
Adjustment Brush as a Local Adjustment Tool
This global adjustment tool allows you to apply a freehand mask by brushing over the area you want to work on. Again, you can increase and decrease the size, density, feathering and flow to make it more precise or natural looking. You can also subtract certain areas you’ve selected by apply the erase brush.
The adjustment is best used for:
1. Targeting small and specific areas to mask and make adjustments to.
The adjustment brush is your best option when you want to apply a mask over specific areas in random places on your image. You can apply the brush to brighten, darken, add clarity and contrast.
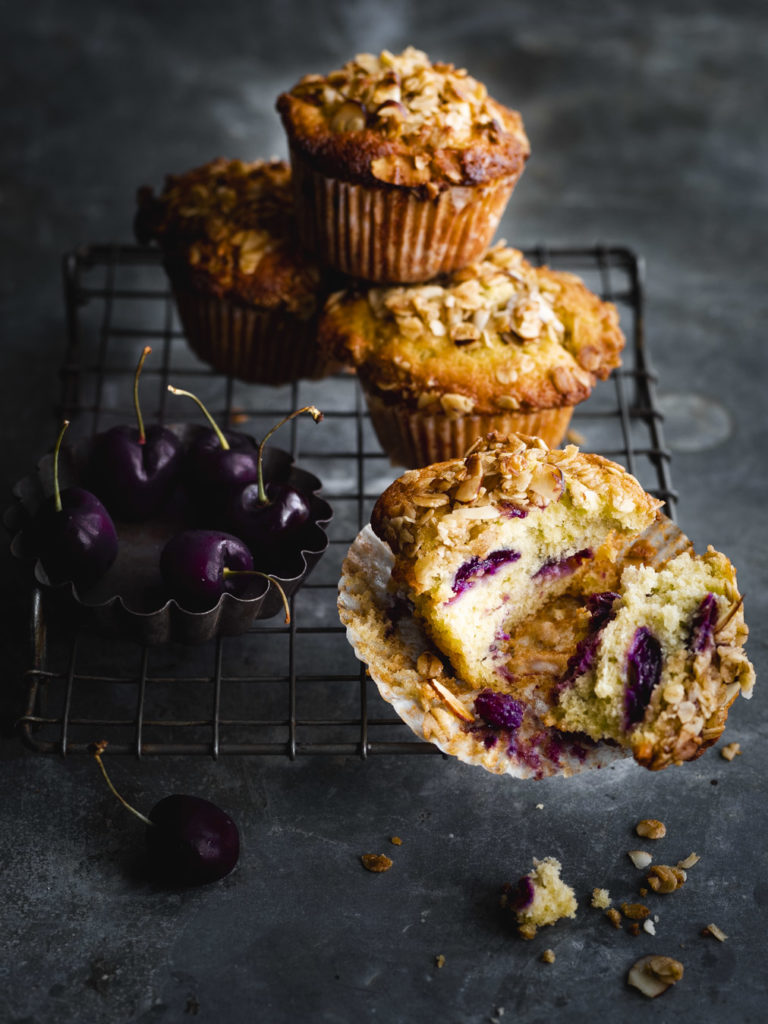
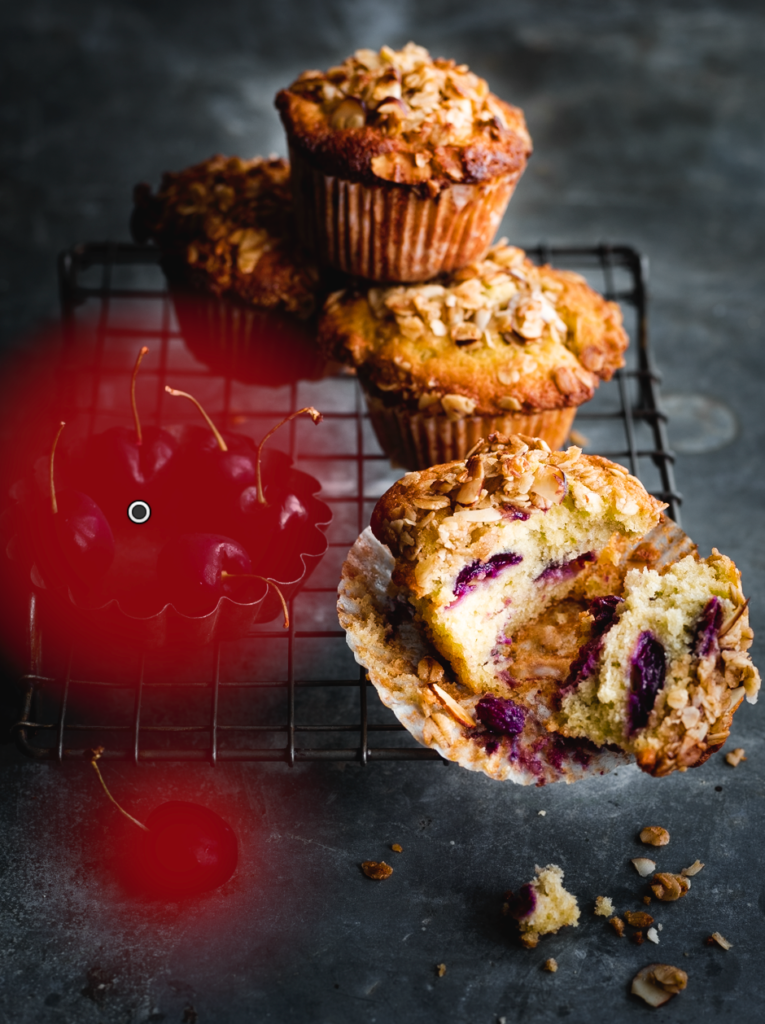
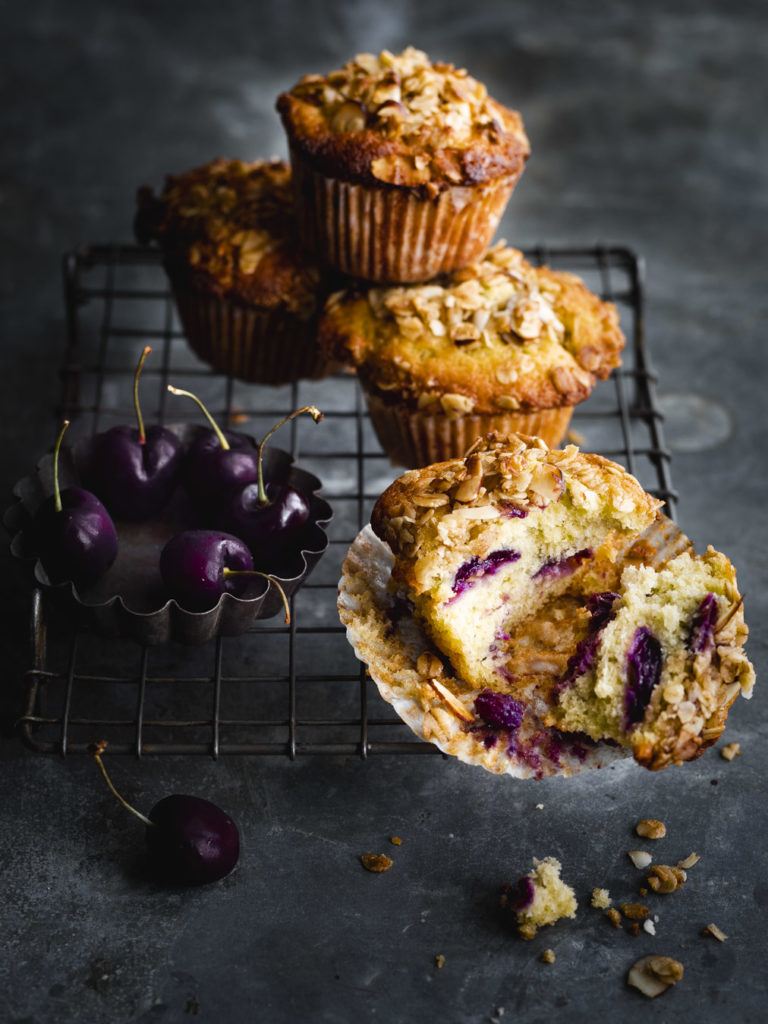
Lightroom’s local adjustment tools allow you to make powerful adjustments to specific parts of an image, versus the global edits that you would normally apply to the entire photograph. Whether it’s adding contrast, clarity, evening out the exposure or warmth to a certain area of an image — Lightroom gives you the flexibility to make these adjustments.
If you’d like to get into more detail about mastering post production and editing, we have a whole module dedicated to this in our upcoming course on mastering food photography! We’ll cover everything you’ll ever need to know including shooting in manual mode, essentials of lighting, powerful composition techniques and live shoots from start to finish. Make sure you’re on our waitlist because we will only open the doors for a very limited time.
+ show Comments
- Hide Comments
add a comment