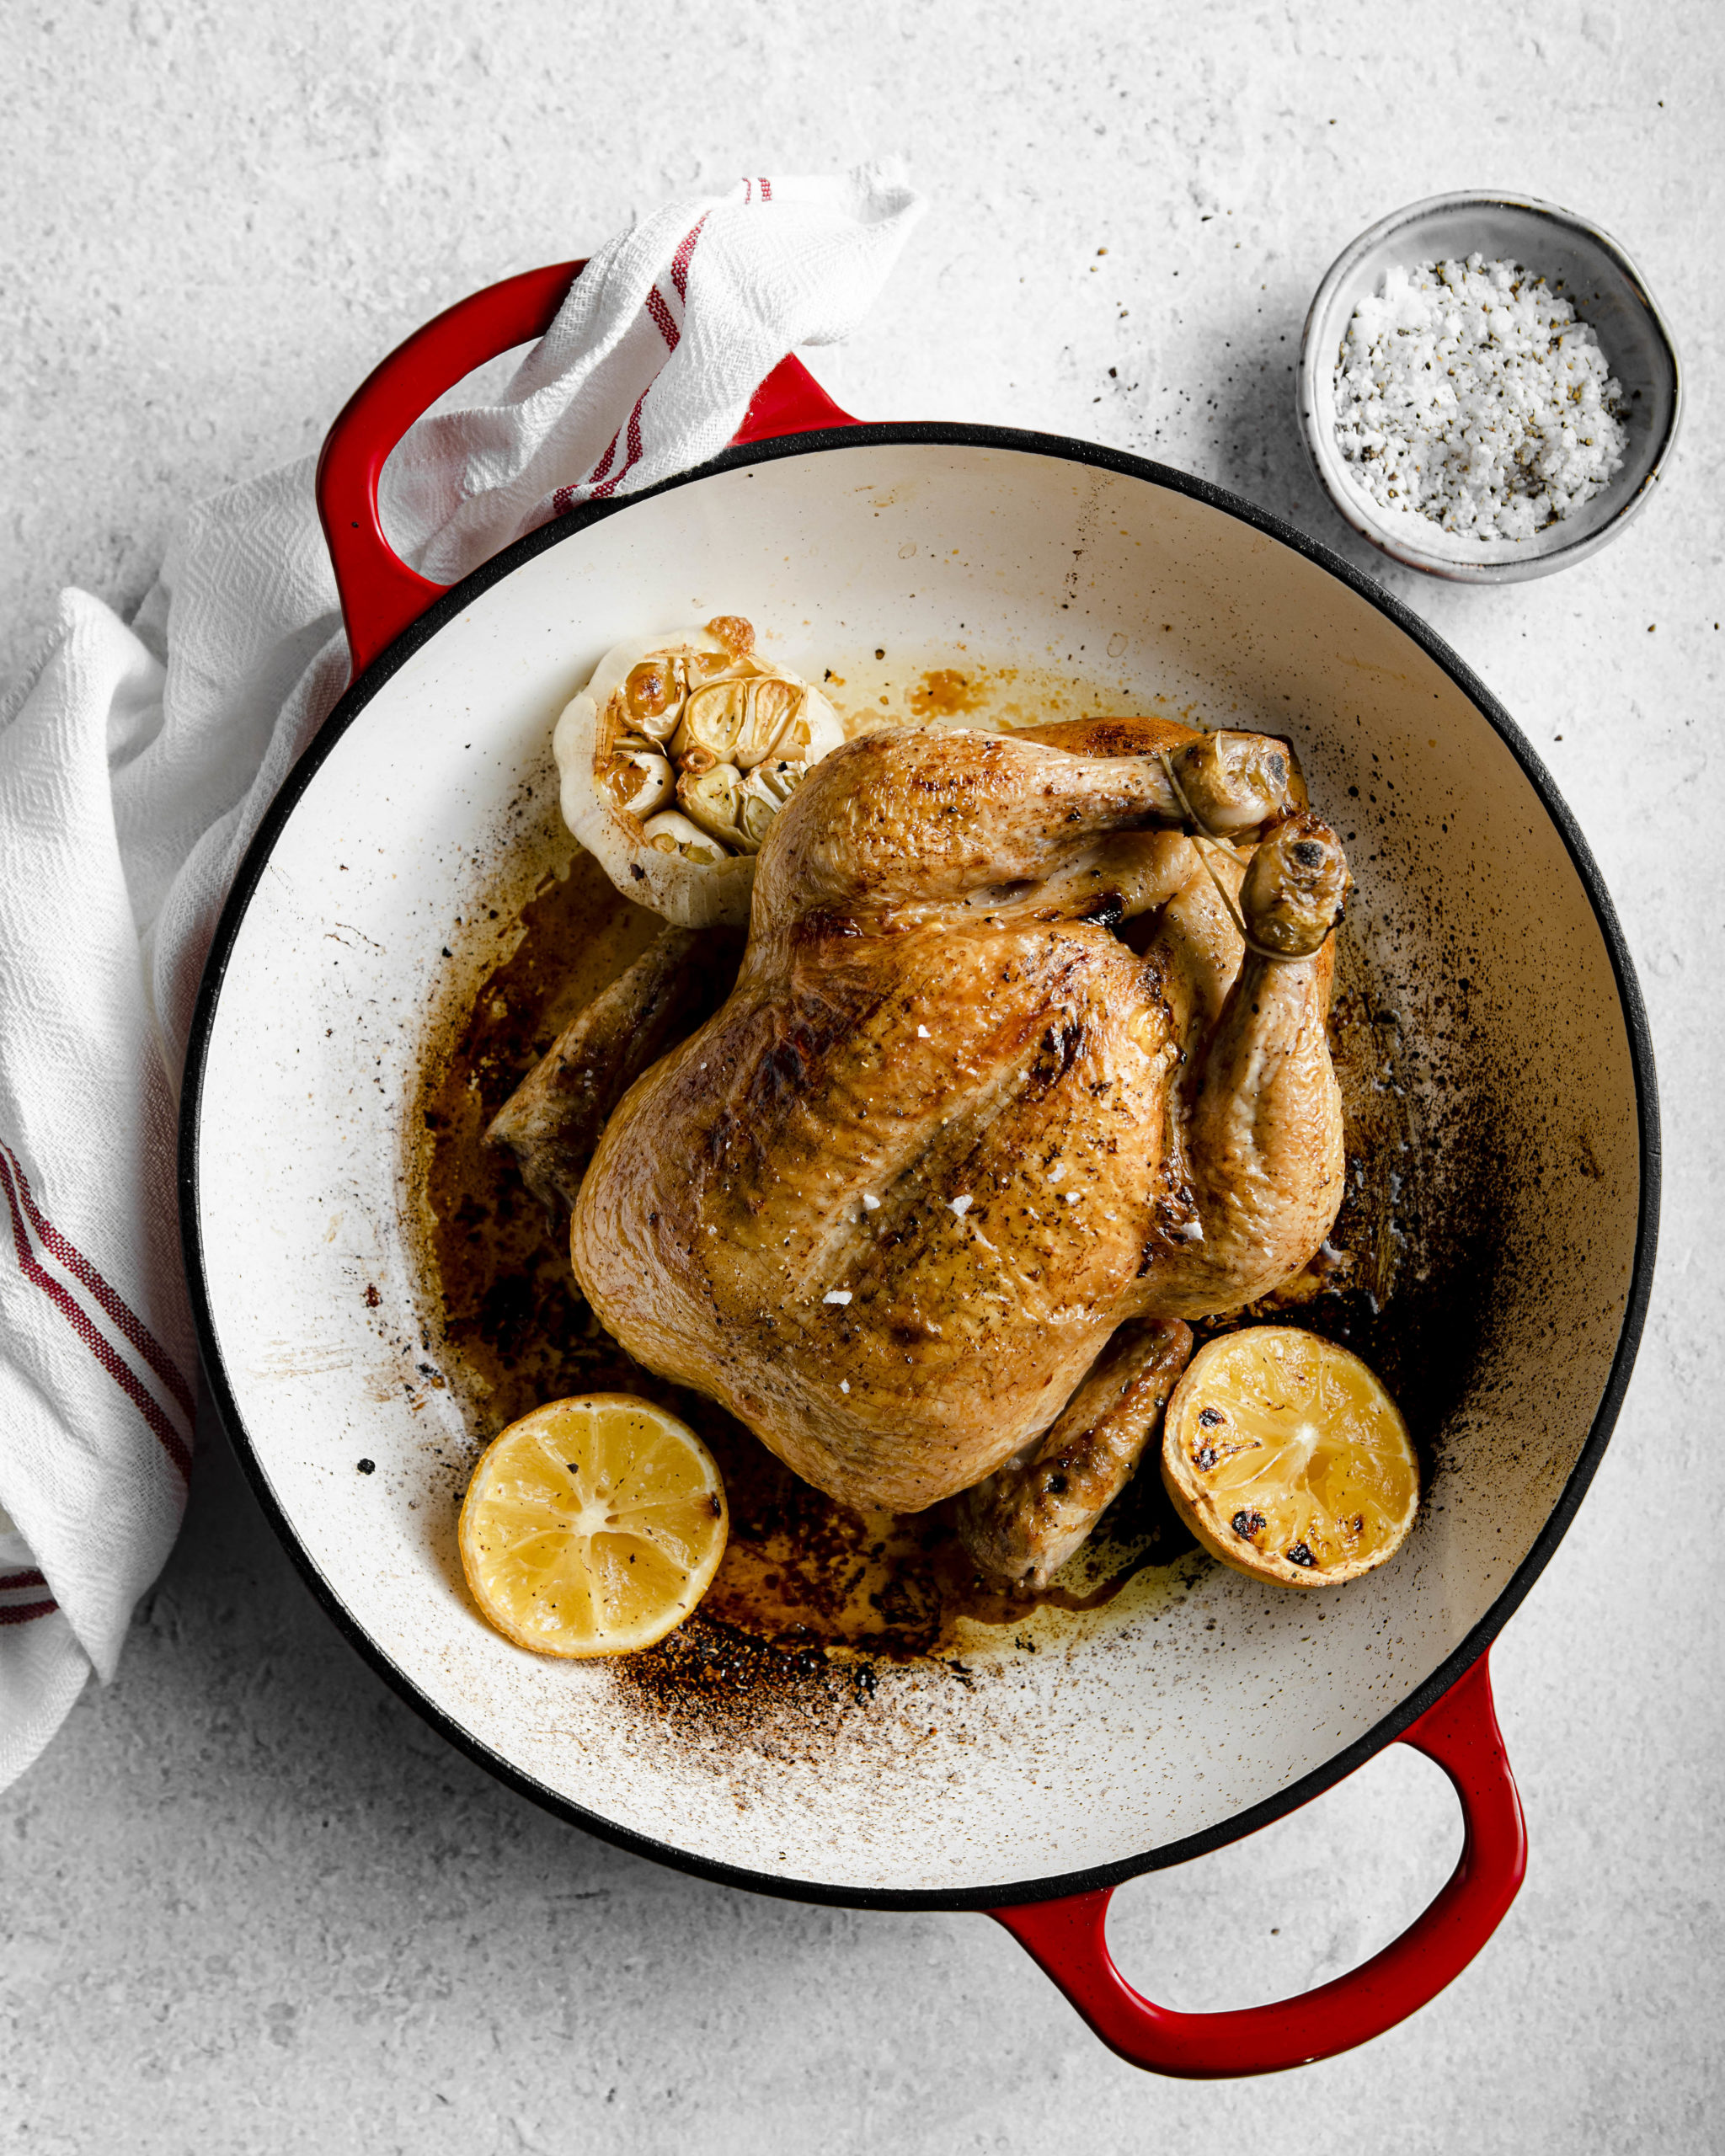
Unless you’ve been living in a cave, you’ll know that one of the most popular food photography styles is a flat lay (i.e., an overhead photo from a bird’s eye view). Flat lay food photography looks easy enough to outsiders, but as food photographers, we know how complicated they can really be. There’s so much more to it than just arranging the items in a unique way on a background. It also requires pre planning, attention to minute detail with regards to composition, propping, food styling and lighting.
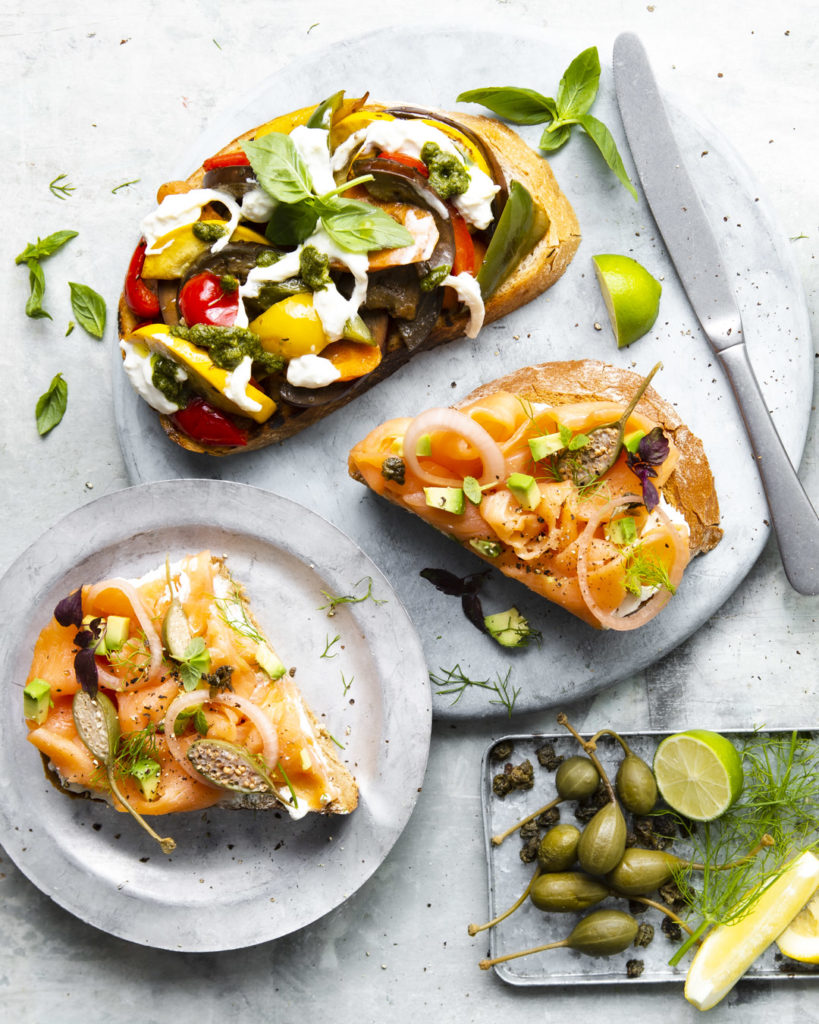
Here are a few small but powerful touches that can help you create stellar flat lay images. If you master these, your photos will forever be trending on Instagram as well as with clients.
Here are PHOODs favorite tips to enhance your food flat lay images.
1. Choose the right background: the first secret to successful flat lay food photography
The backdrop or background of your layout serves as the foundation for your photo and a frame for whatever you are styling. Take time to choose the right background, color, and texture. This sets the tone of your vignette. Choose a color that allows the food in your photo to pop. And ensure your backdrop isn’t too textured or busy to take away from your food and the focal point. This is the first secret to successful flat lay food photography,
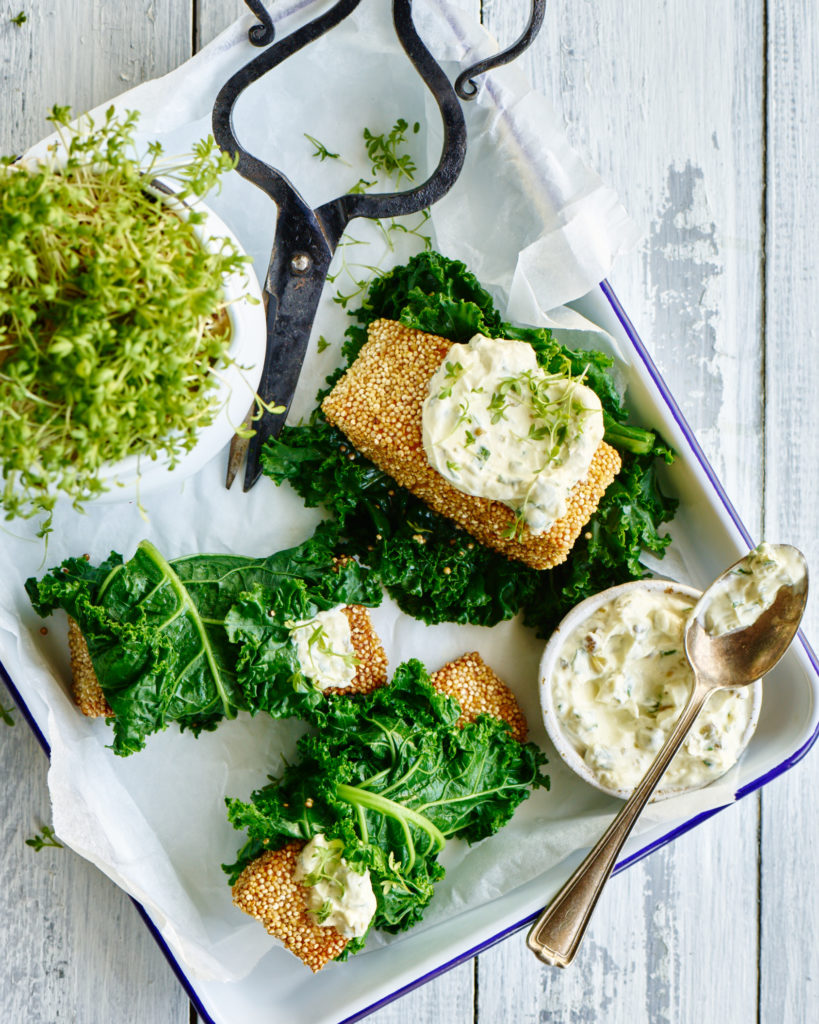
2. Placement of food
The placement of food is the second secret to a successful flat lay food photography. The way you place your food can make or break your image. Use the rule of thirds by dividing the frame of a photograph into nine equal parts. Be mindful of the two equally-spaced horizontal and two equally-spaced vertical lines. Placing the most interesting and important elements along these lines will create a more interesting photo. This rule highlights the importance of balance in a photograph. And this should be considered when it comes to color, texture, and angles.
3. Balance your image to achieve remarkable flat lay food photography
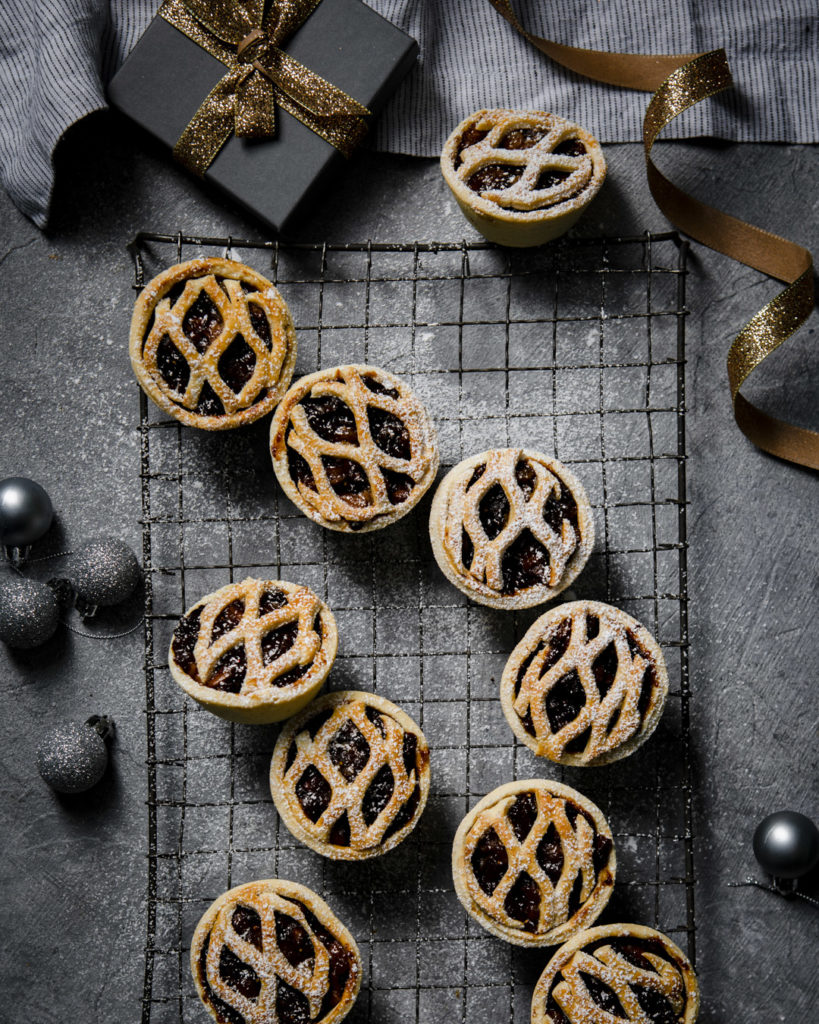
Balance your image is one of the most important tips in this blog post! This applies to food, negative space, textures, colors, etc. Too much or too little of a single element in one part of the photo can make the photo look unbalanced. The key is to a great flat lay food photography is to balance the various elements throughout the frame in a way that feels natural. This means, if you have black on the upper left-hand side of the photo, you should try to have something black or equally color-heavy on the bottom right. Think of it this way: if you took that photo, held it flat and attempted to balance it flat with one finger in the middle, would it be balanced? Is your eye drawn to one particular part of the image only?
4. Take a step back
Take a step back- When arranging a flat lay and trying to compose a beautiful balance of details, remember to stop and take a step back. Literally, get up, walk around, and give your eyes and your mind a rest. Then, come back take a shot. This will help you notice when something is crooked, off balance, or out of place.
5. Take one away
Take one away- Once you take a final shot of your flat lay, Take one item of food or prop away and see if you miss it. Chances are, you won’t Sometimes, all you need is a bit of extra breathing space to seal the composition.

6. Make diagonals
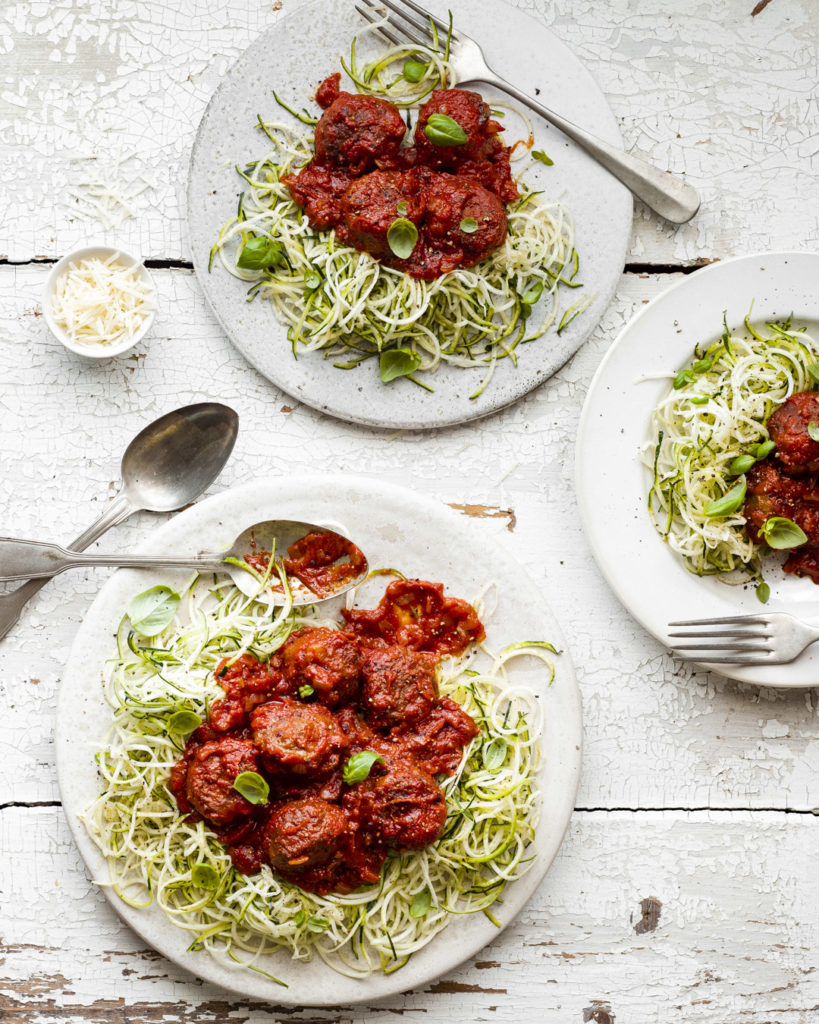
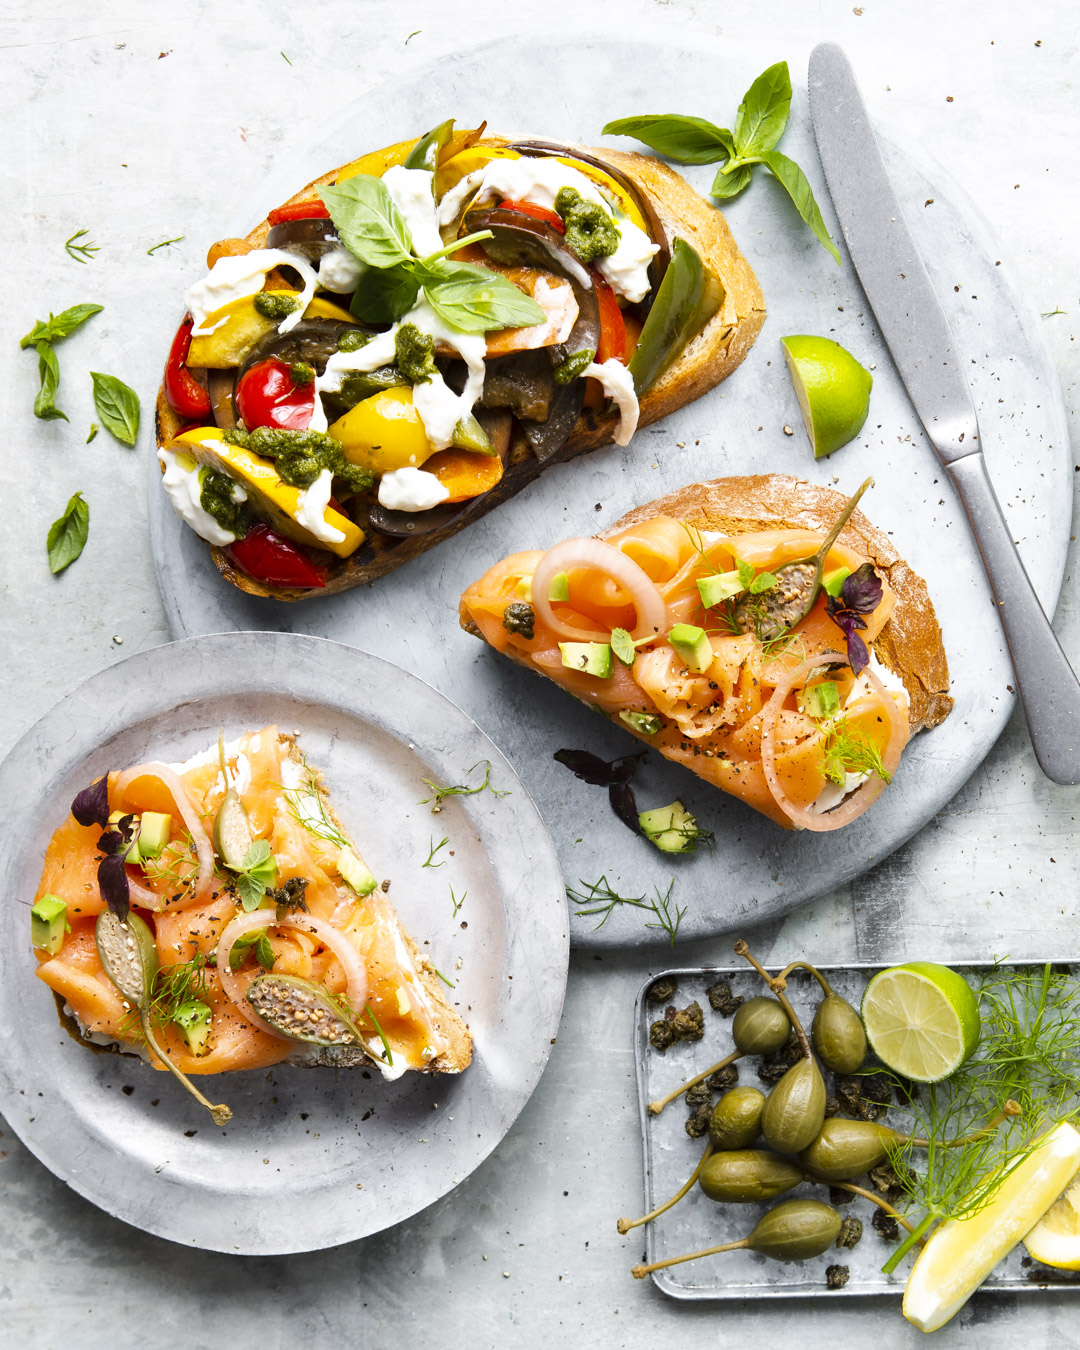
Make diagonals- when it comes to flat lay food photography, take note of similar props like cutlery or napkins and place them in opposite directions. This helps add balance to your images and adds a positive tension to your flat lay food photography.
7. Consider your crop: the last secret to awesome flat lay food photography
Consider your crop for flat lay food photography. Any image of food will look more interesting when secondary food items and props are partially cropped. It’s not necessary to see the whole napkin. Often, just a tiny peak adds more interest then seeing the whole napkin itself. The same goes for plates of food. Any additional servings can be cropped out to tell the story of a larger scene.
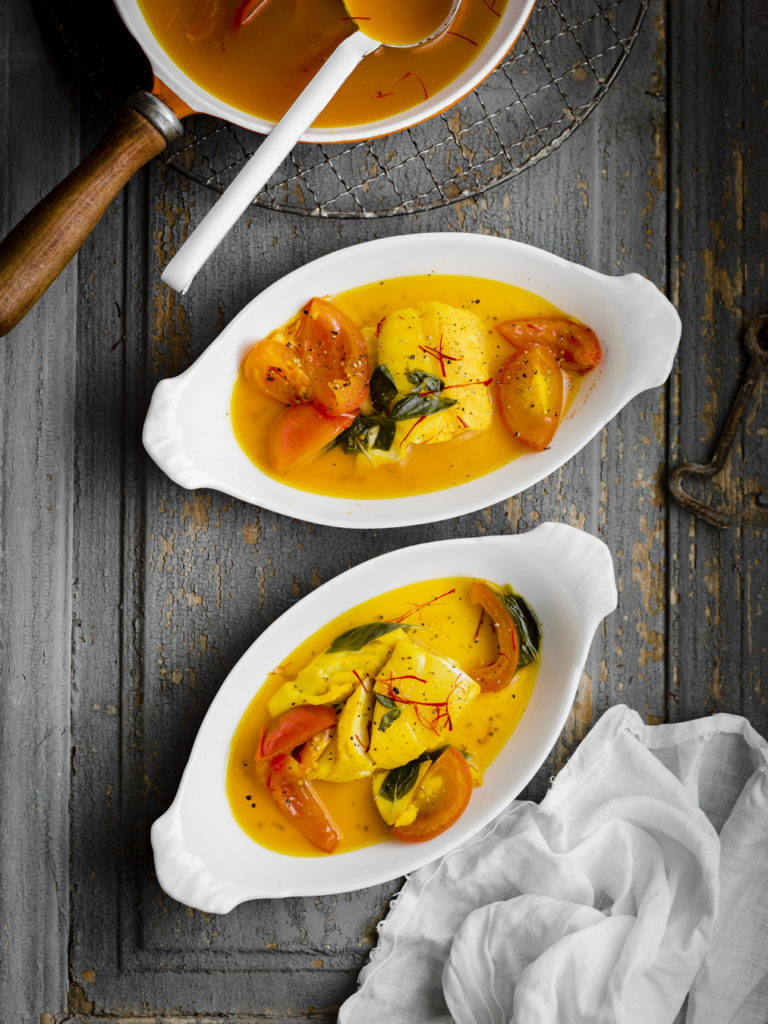
Use these seven strategies the next time you’re creating a flat lay image to help elevate your images from amateur to professional. Whilst a flat lay may be hard to master in the beginning, the small tweaks you make to your images that will help to create striking changes over time.
If you enjoyed what we’ve dished out today, then you’ll certainly be interested PHOOD’s signature course to take you from blogger to photographer launching soon so make sure you’re on the waitlist for when doors open for a limited time. We can’t wait to see you on the inside.
Great tips! Thanks so much!
So glad you found them helpful Erica!