Ever wonder what to put ‘around’ your main food or hero item? Confused what to place in the background of your photos? Do you keep trying various ingredients and props and yet, everything you use looks unnatural and and out of place no matter where you place it in the photo?
Today, I want to share some tip and tricks on what to use in the background of your photos. The aim of a strong food photograph is to drive the viewer’s eyes to the hero subject as well as tell a story in your frame. No prop or garnish should distract from that. Hence, you need to be strategic about what you place around your main recipe as a supporting cast. Here are 5 props you can use that will help you to compose next level images whilst still putting the starring role on the food itself.
Cutlery
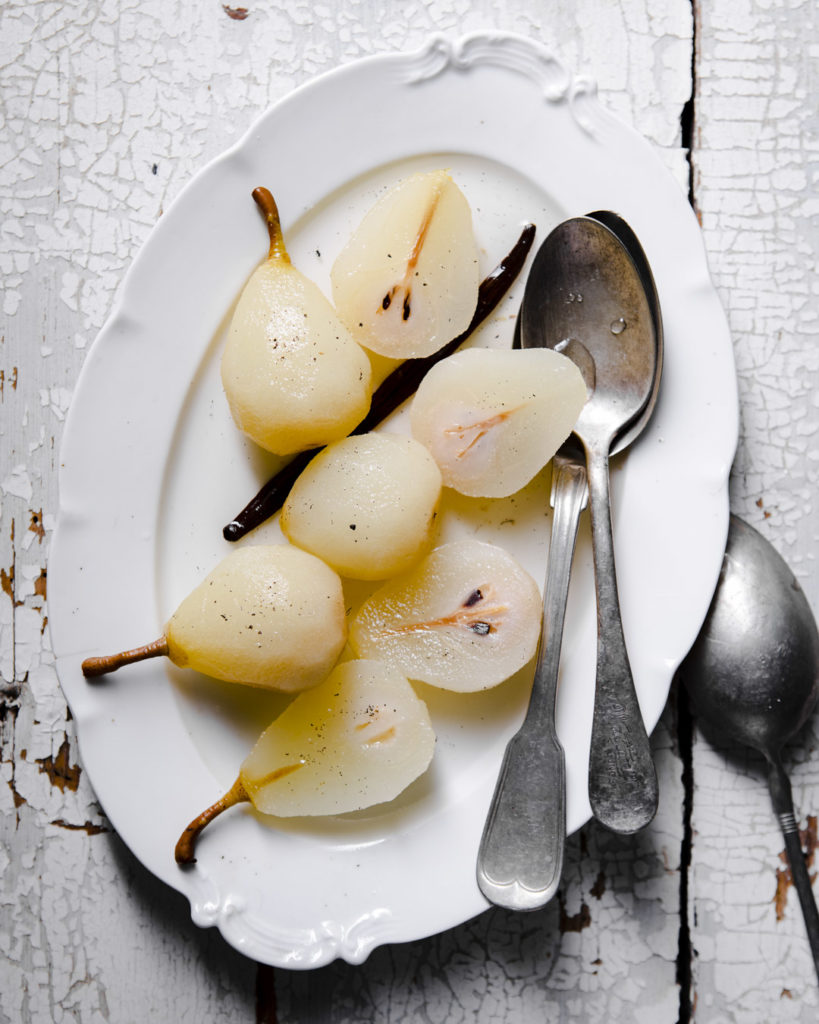
Adding cutlery to a food photo is a very natural way to build interest without overwhelming, Most food uses some sort of cutlery be it spoons, forks, knives or even servers so it makes sense to use this for styling. It’s a a great way to add movement and lines to your images.
When using cutlery, ensure you use something that isn’t shiny. This will otherwise create unnecessary highlights and distract. Most kitchen utensils are shiny and therefore, you may need a few ‘prop’ pieces that are antique with good patina. Also ensure whatever you use makes sense to the recipe. For example, using a soup spoon in a picture with baked fish just doesn’t make sense no matter how beautiful and photogenic the prop looks.
Napkins
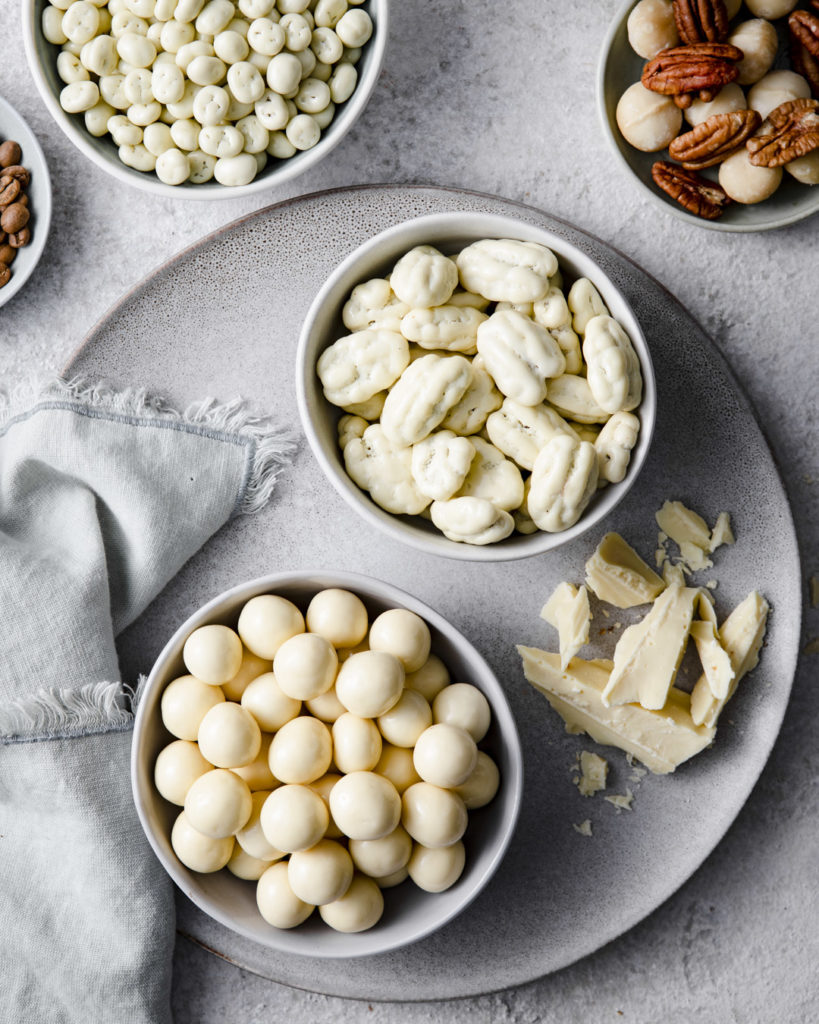
The addition of a napkin is an easy way to fill your frame as well as add a hint of color to your images. There are so many ways to style a napkin. Tuck it under a plate, have a corner peaking into the frame, tie a knot around the handle of a serving dish or perhaps even use it as a background. Linen material for napkins work best and we love these ones that come in a variety of neutral colors.
One thing to be weary of with napkins is to make sure you are only seeing a hint and that the napkin isn’t taking over the whole scene (unless when using it as a background). Minimal works best when it comes to using napkins as a prop.
Glassware
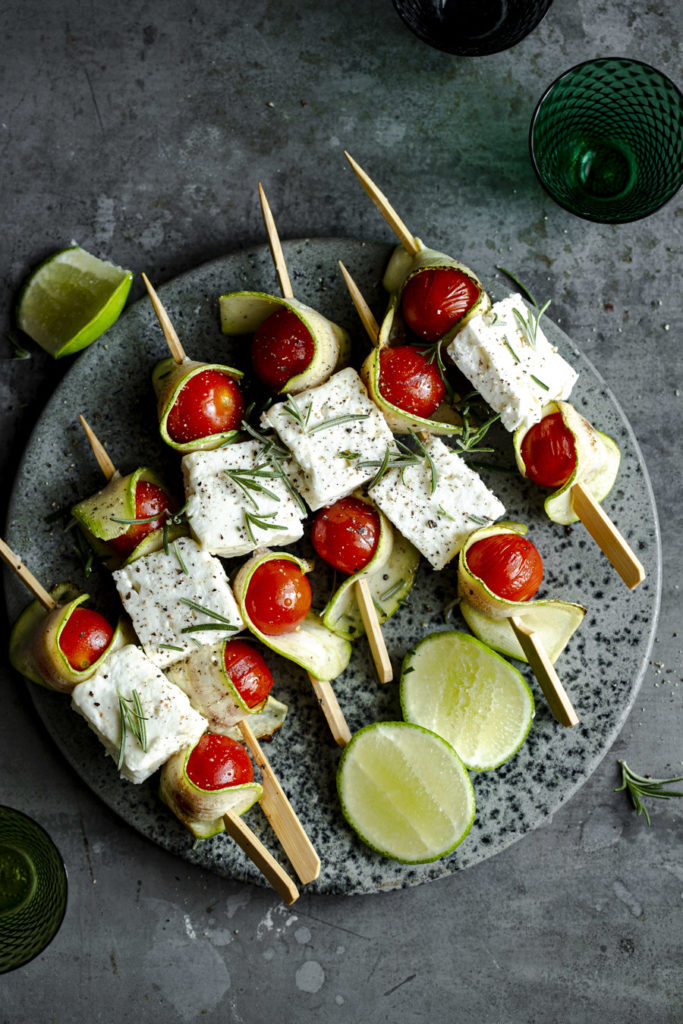
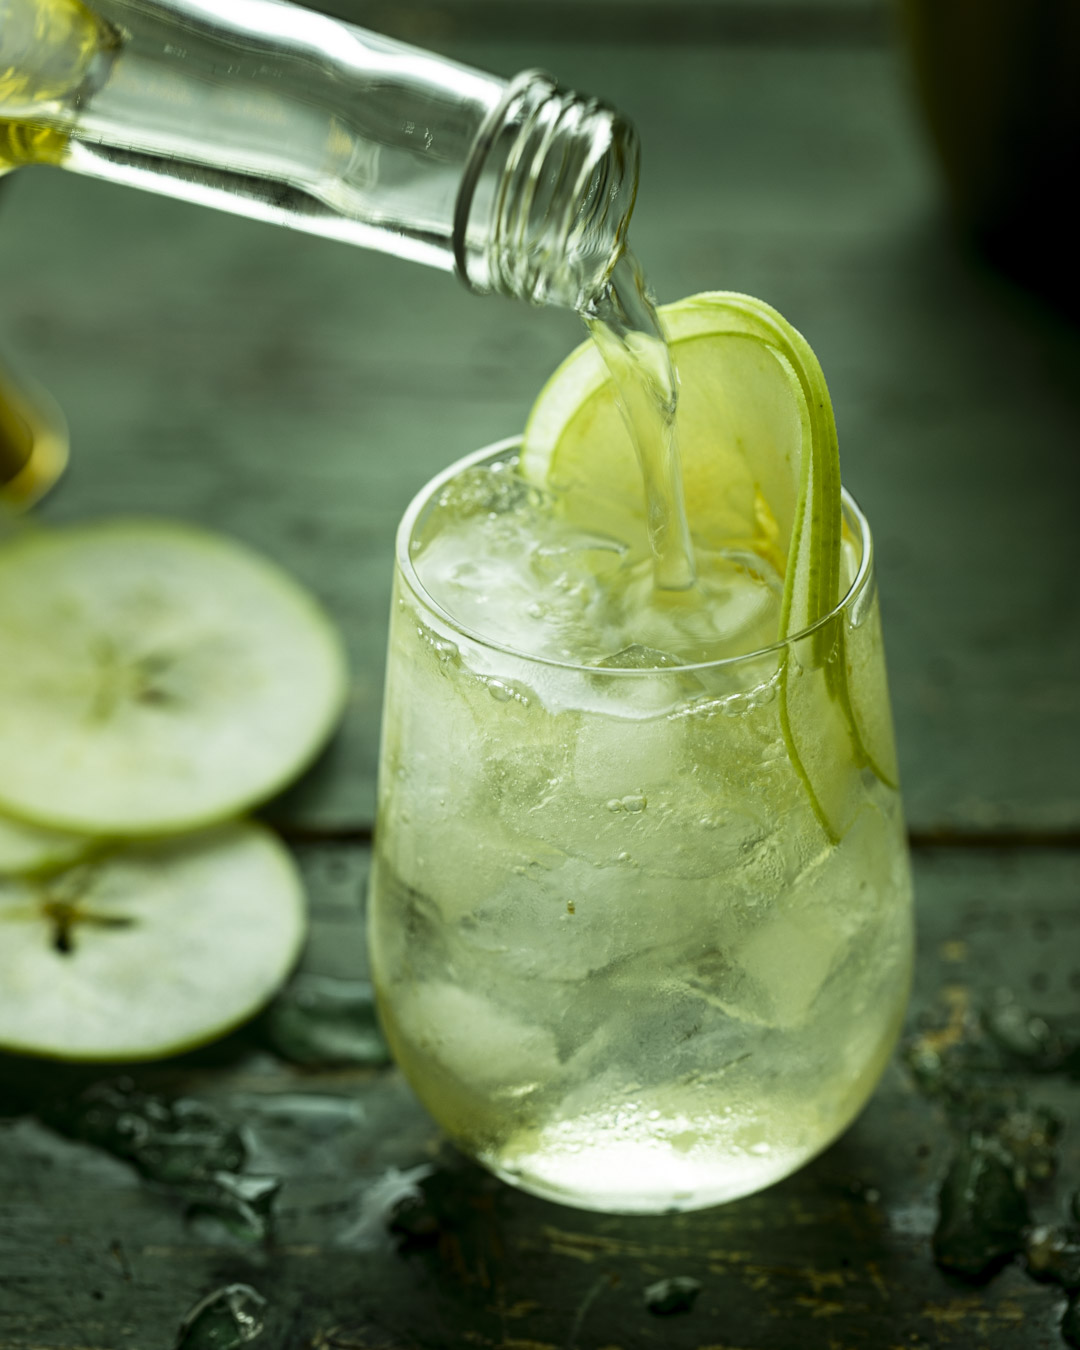
Glasses are another way to bring interest to your images, fill a frame and balance your images. They also make sense to your food photography and you can use water and sparkling juices for savory items. For sweets, opt for fresh coffees and teas.
When it comes to glassware, ensure your glasses aren’t too tall, especially when using them in a flatly style images. Glasses made from thin glass will reflect less as well and create less harsh hot spots.
Garnishes
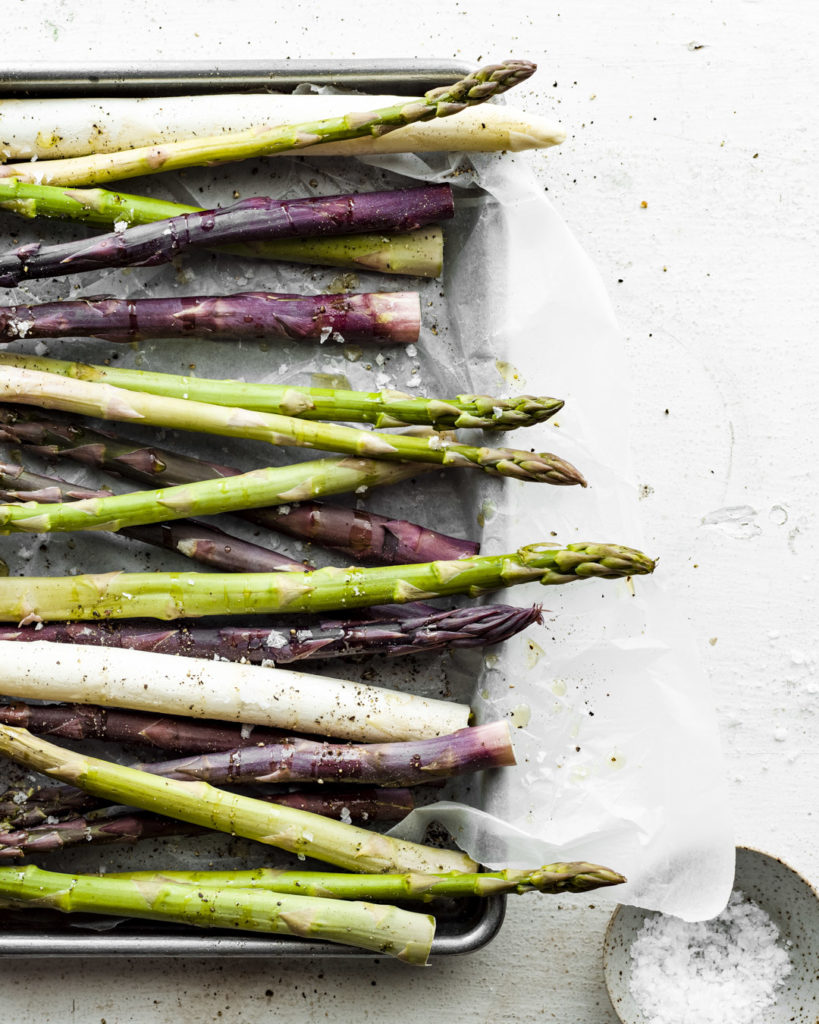
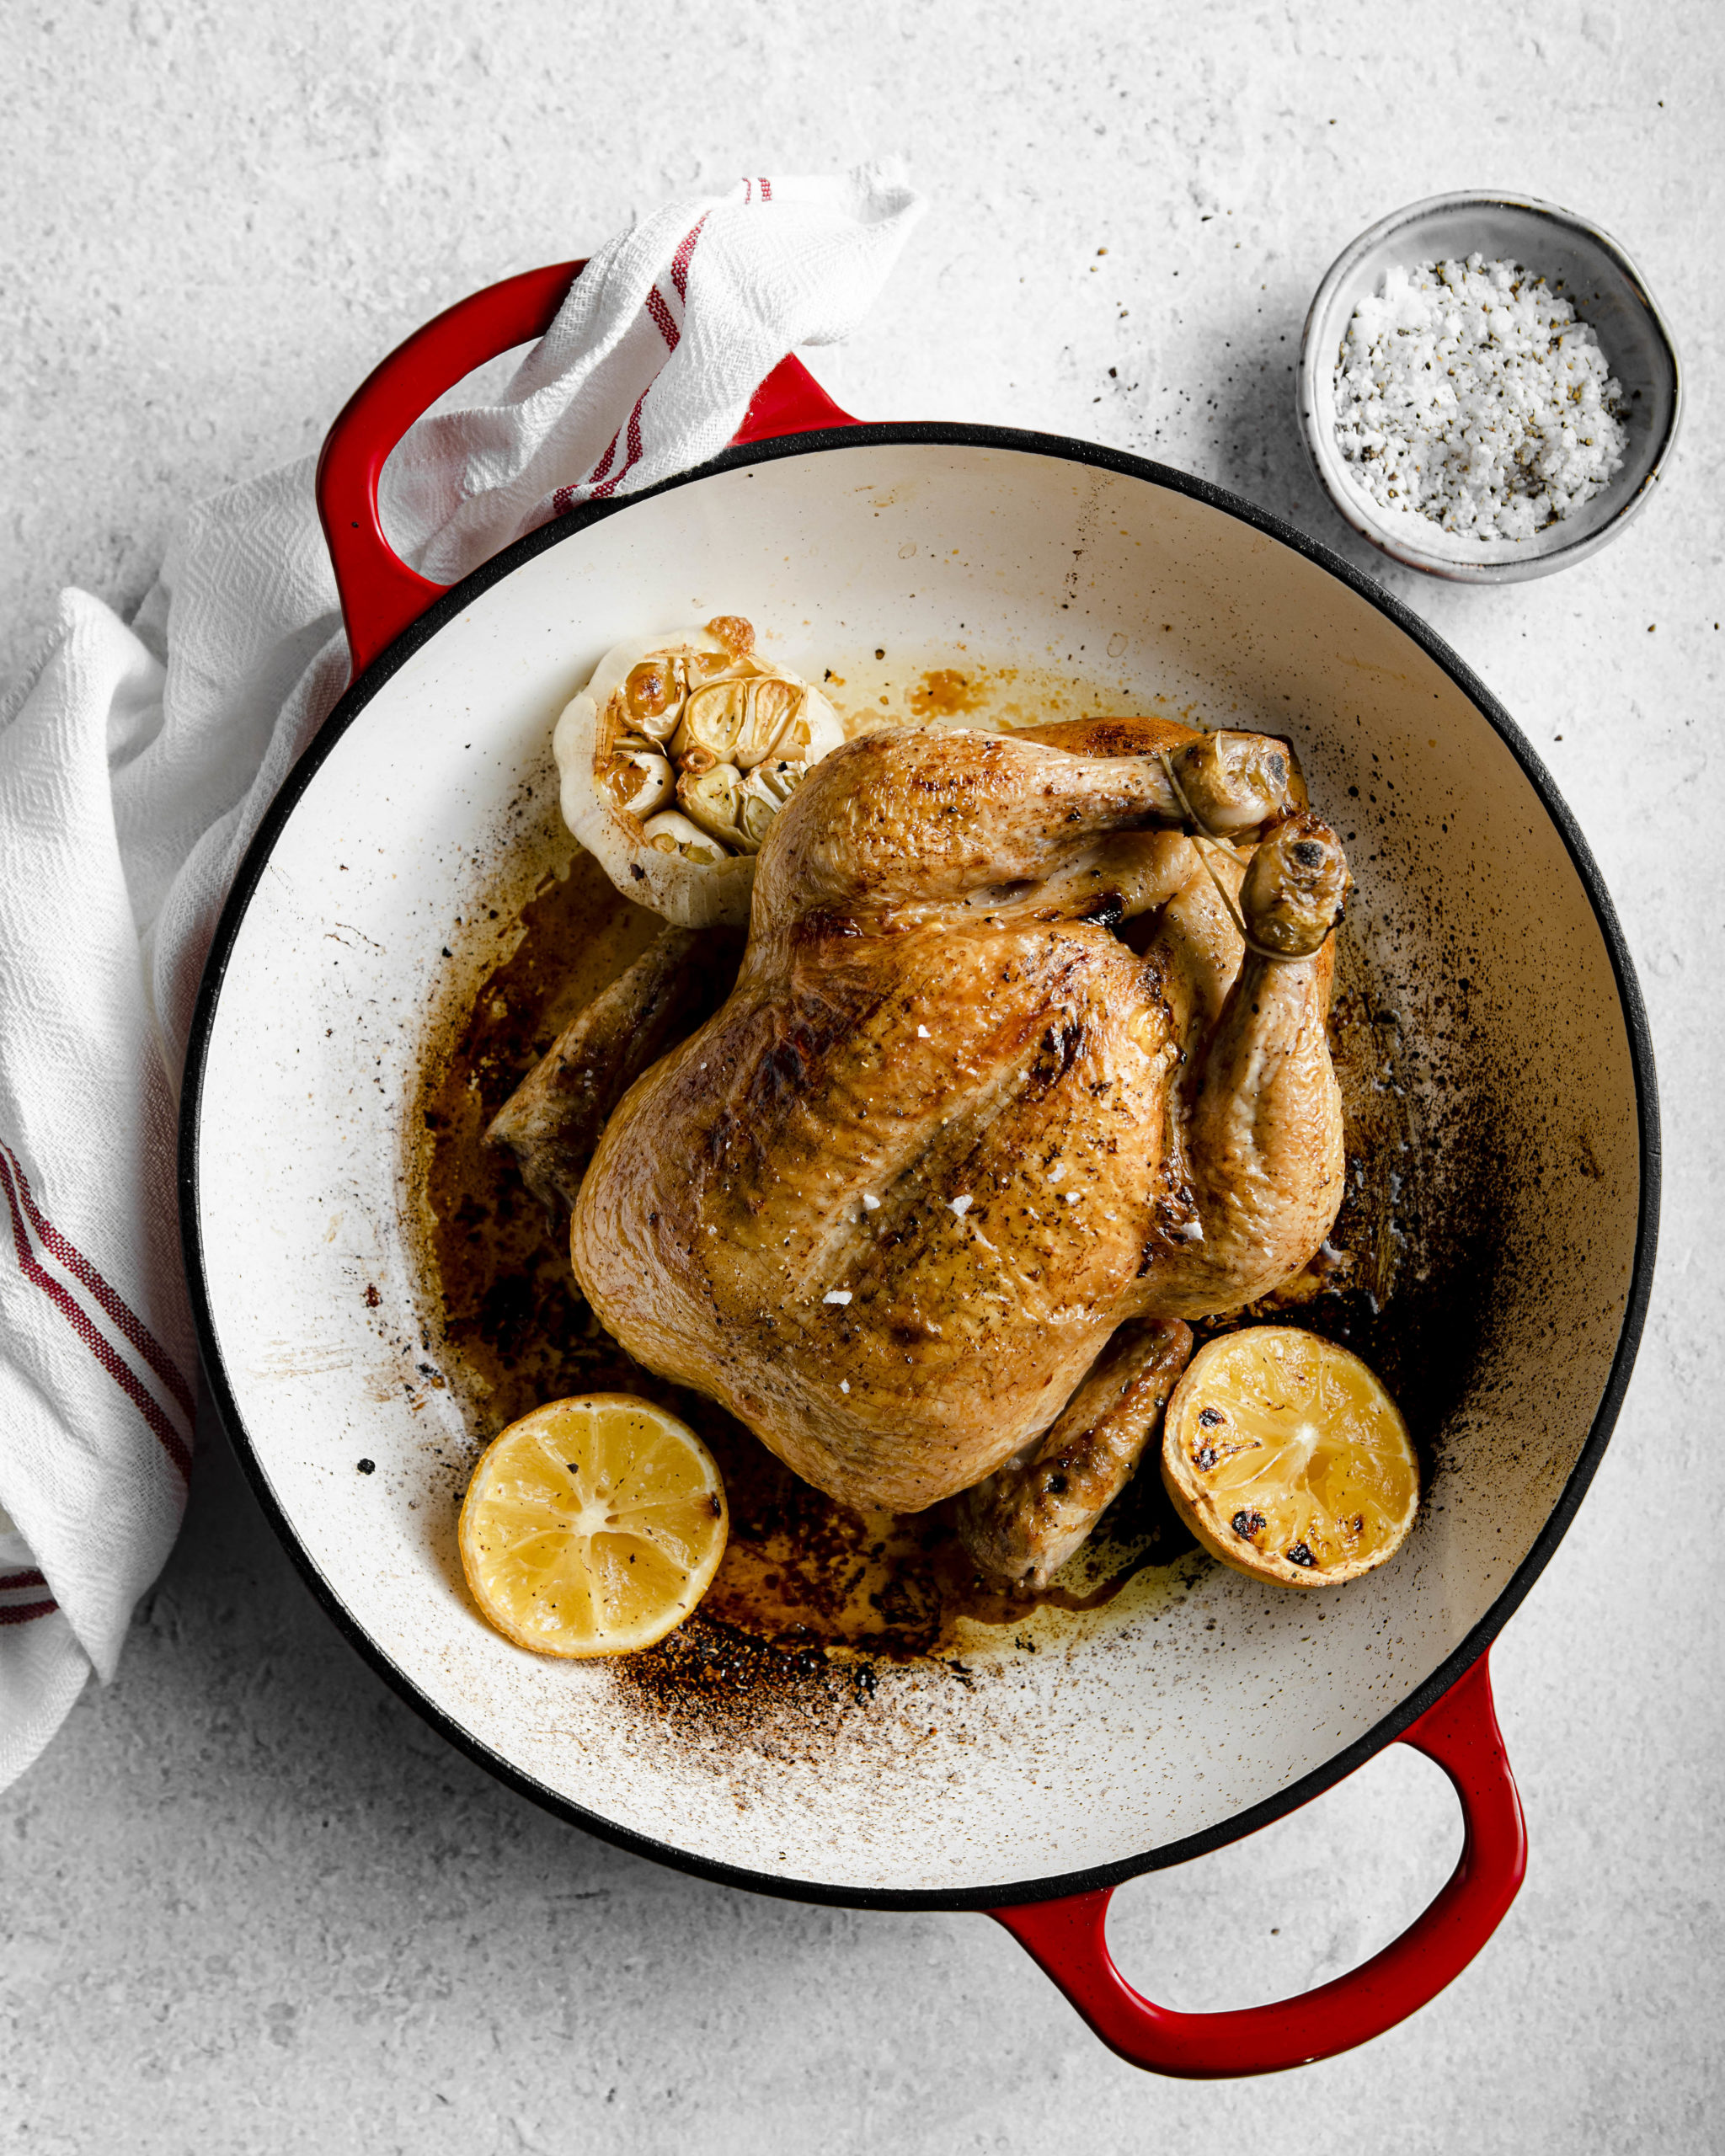
Garnishes are a great addition to any photo and work very naturally to give interest and layers in your image without overwhelming. Think about what fresh herbs you can garnish your dishes with. Spices, sea salt, pepper as well as dressings are an easy way to prop your images.
The best way to put garnishes in your food photos is to place them in a small pinch pot or naturally on the background. Again, less is more when it comes to props so make sure to use small bowls.
Second servings
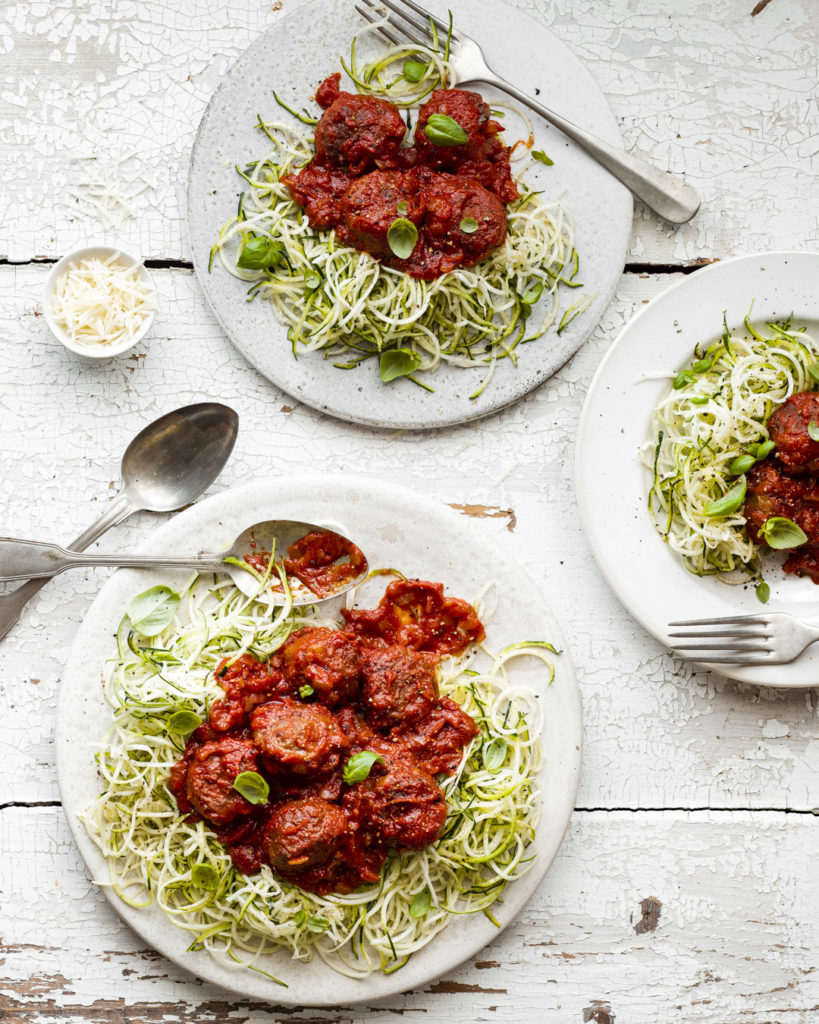
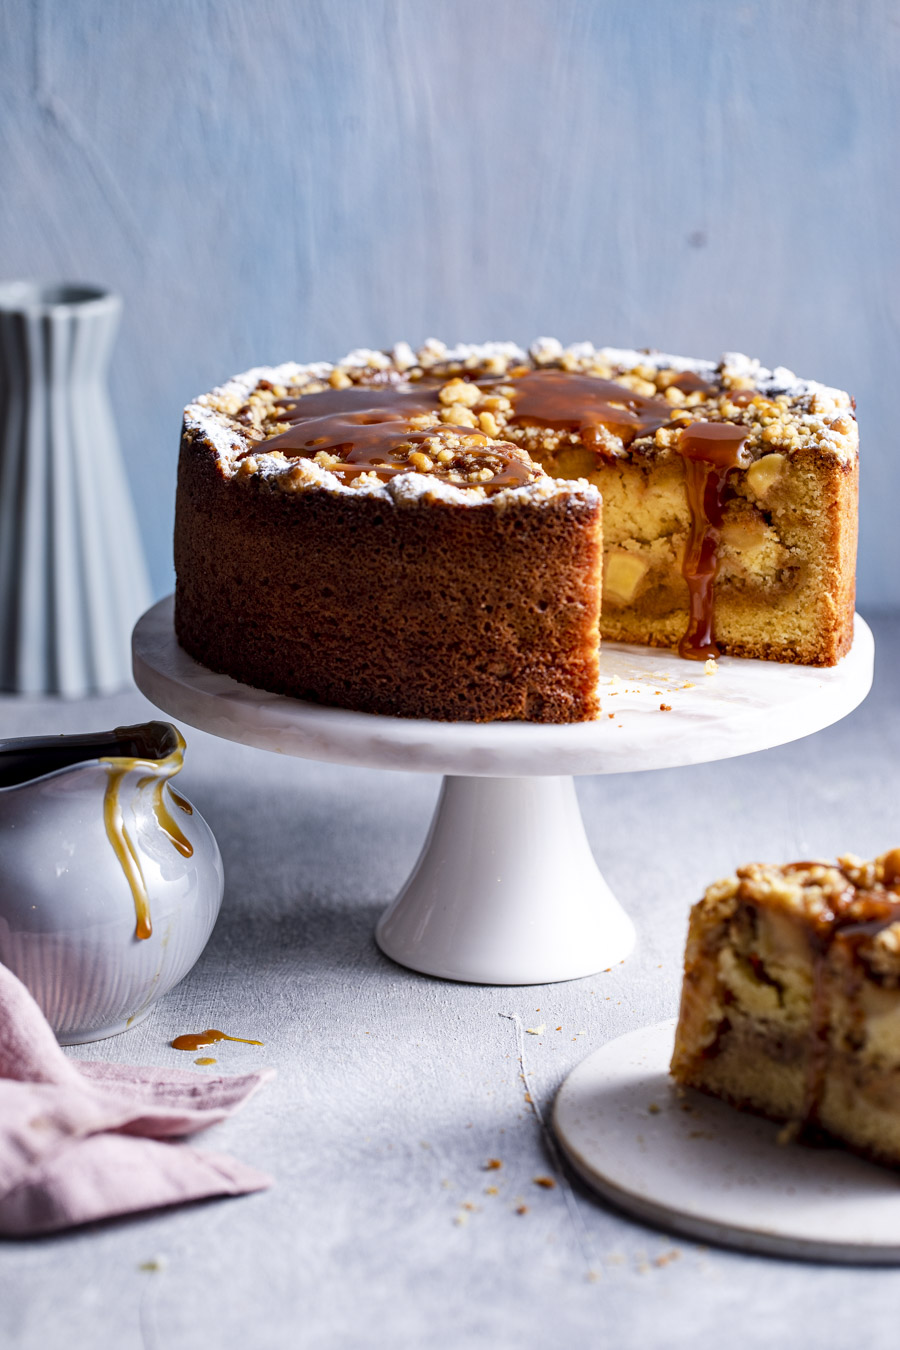
A second serving a a great way to layer your food images, fill up your frame and add interest to your images. This works well for both overhead shots as well those taken from a front angle. Just ensure the focus is still on your hero serving. You can do this by cropping out the second serving or using a smaller bowl or plate for the additional serving.
You can even take this a step further and add a third serving but just ensure that the third serving is slightly cropped out and not taking too much attention.
There are so many ways to add layering in your food photography images. However, always ensure that whatever props you use add to your images and storytelling rather then distract from the hero subject. Your props shouldn’t be too large or saturated so they take attention away from your main food.
Layering and composition are fundamental parts of a strong photograph of food which is why we have dedicated a full video on each of these subjects in PHOOD’s signature course to take you from blogger to photographer. Make sure you’re on the waitlist for when doors open for a limited time. We can’t wait to see you on the inside so you can take your images from amateur to professional in 6 weeks.
+ show Comments
- Hide Comments
add a comment